Mushroom Agar Work: The Complete Guide to Isolating, Storing, and Expanding Cultures
Master the "black belt" of mycology. From Fanny Hesse’s kitchen discovery to advanced genetic sectoring, we explore the physics, chemistry, and real-world hacks of agar work.
Contents
In the technical hierarchy of mushroom cultivation, agar work is the “black belt” skill. It is the definitive boundary between the amateur who relies on luck and the professional who engineers results. While many beginners start with multispore syringes and “hope for the best,” the technical urban homesteader uses Agar to isolate high-yield genetics, eliminate contamination before it touches expensive substrate, and preserve rare fungal strains for decades. To master agar is to master the fungal organism at its most vulnerable and its most powerful state.
Success in the lab is not just about having a Still Air Box (SAB) or a Laminar Flow Hood; it is about understanding the molecular behavior of your media. In this comprehensive pillar guide, we break down the physics of agar hysteresis, the biochemistry of nutrient triggers, and the industrial-grade protocols for genetic isolation.
The Mother of Modern Mycology: A Kitchen Discovery
Before we dive into the technical details, we must acknowledge that modern mycology exists because of a kitchen hack. Until 1881, Robert Koch—the father of microbiology—utilized gelatin to grow cultures. In the summer heat, the gelatin would melt into a useless puddle, and many bacteria would simply eat the medium, liquefying it instantly.
Historical Anekdote: It was Fanny Hesse, the wife of Koch’s assistant Walther Hesse, who suggested using Agar-Agar. She had learned about this red-algae extract from a neighbor who lived in Java, where it was used to thicken jellies and jams in tropical heat. Agar does not melt until it hits 185°F (85°C) and remains solid up to 104°F (40°C). This simple switch from gelatin to agar allowed for the creation of stable “Pure Cultures,” revolutionizing both medicine and mushroom cultivation. In 1905, Benjamin Duggar applied these same agar methods to create the first reliable “Pure Culture Spawn,” ending the era of unpredictable wild spawn collection.
The Physics of Agar: Mastering Hysteresis
The most critical physical property of agar is its Hysteresis—the difference between its melting point and its solidification point.
- Melting Point: ~185°F (85°C)
- Solidification Point: ~104°F (40°C)
Maker Hack: The 47°C “Sweet Spot”
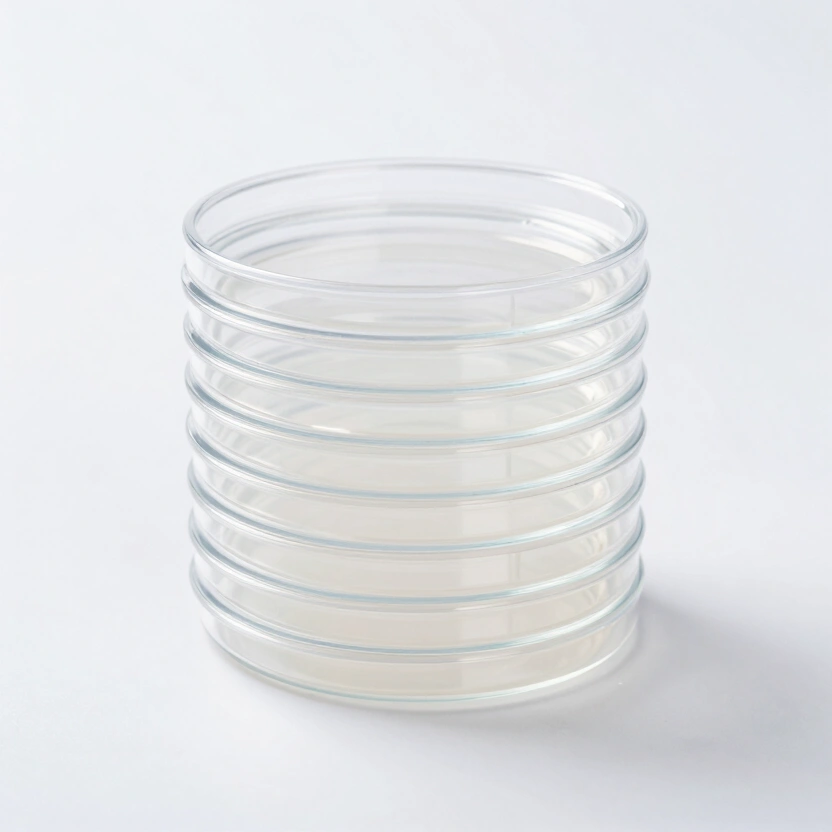
Kondenswasser (condensation) is the #1 enemy of clean agar work. If you pour your agar while it is boiling hot, the steam will condense on the lid, creating “lakes” that allow bacteria to swim across the plate. The Protocol: Technical growers use an infrared thermometer to monitor the media flask. We pour at exactly 117°F (47°C). At this temperature, the agar is still liquid enough to flow smoothly but cool enough that steam production is minimized. The Stacking Trick: Always pour your plates in stacks of 10 to 15. The warmth of the plate above acts as a thermal buffer for the plate below, preventing the lid from cooling down too fast and virtually eliminating condensation.
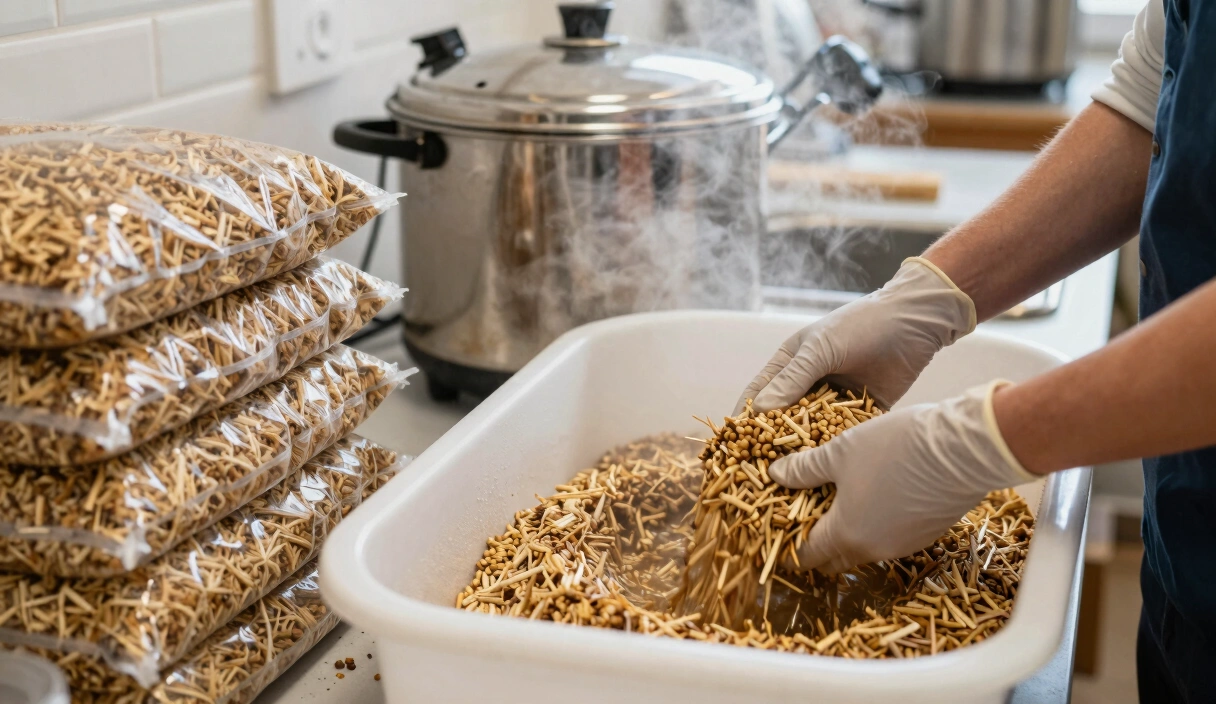
The Recipe Matrix: Engineering Growth Patterns
Not all agar is created equal. By manipulating the nutrient profile, you can “program” the mycelium to behave in specific ways.
| Recipe Type | Composition (per 500ml) | Strategic Purpose |
|---|---|---|
| MEA (Malt Extract) | 10g Agar, 10g LME | Standard expansion and cleaning. |
| PDA (Potato Dextrose) | 10g Agar, 10g Dextrose, Potato infusion | High-calorie fuel for weak or old cultures. |
| Water Agar | 10g Agar, 500ml Water | The Cleanup Specialist. Bacteria cannot grow without nutrients, forcing the mycelium to stretch. |
| Low-Nutrient Agar | 10g Agar, 5g LME | The Rhizomorph Trigger. Induces hunger, forcing the fungus into rope-like growth. |
Field Note: The “Dog Food” Secret. Many expert growers on Shroomery swear by DFA (Dog Food Agar). High-quality, grain-free dog food contains a complex array of minerals and vitamins that often trigger explosive growth in species like Lion’s Mane. However, use this only for expansion, as the sediment makes spotting bacteria more difficult than on clear MEA.
Professional Agar & Lab Tools
Mushroom Agar According to Kimmig (Pack of 20)
Pre-poured sterile agar plates optimized for fungal mycelium growth.
Check Price on Amazon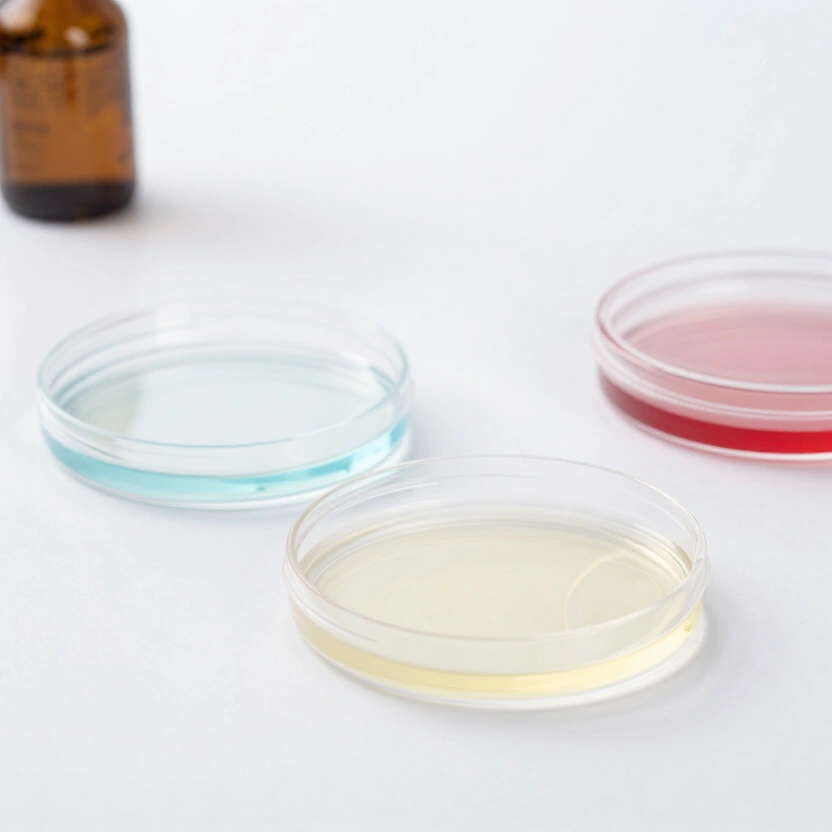
Sabouraud 2% Glucose Agar Plates (Pack of 20)
Sterile nutrient media plates for advanced microbiological cultures.
Check Price on Amazon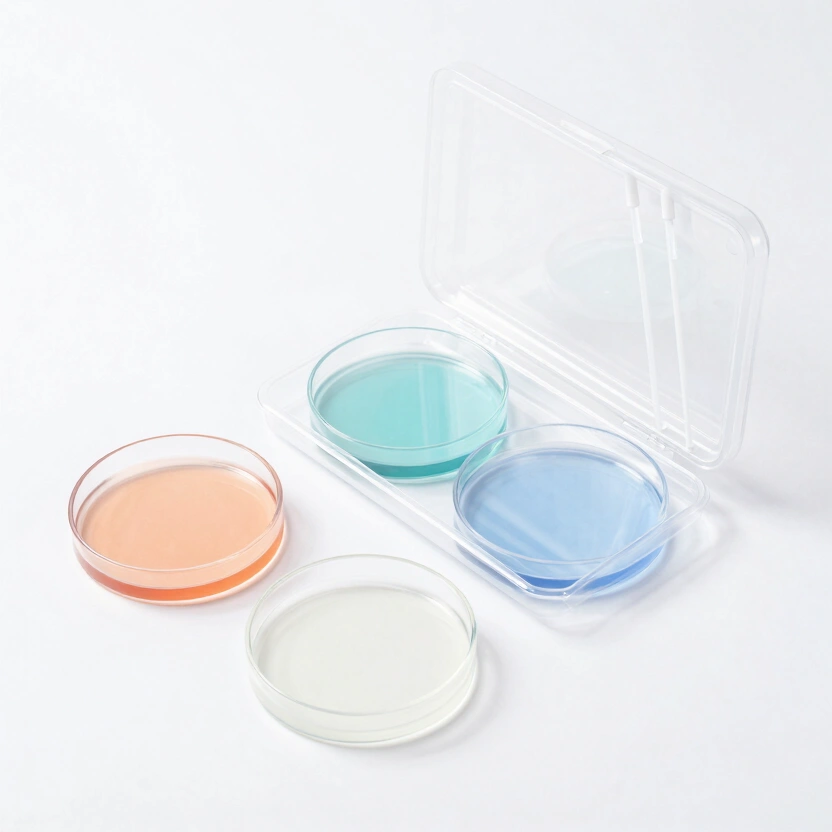
Nutrient Agar Petri Dishes Science Kit
Complete agar kit for home mycology experiments and culture isolation.
Check Price on Amazon* Affiliate links. Prices last updated March 6, 2026.
The “Invisible Bacteria” Protocol
The most dangerous failure in the lab is “The Ride-Along.” This occurs when a bacterial colony is growing underneath or inside the mycelial mat. To the naked eye, the plate looks like a perfect, white circle. But the moment you transfer it to Grain Spawn, the bacteria explode, ruining your work.
Technical Diagnosis
- Backlighting: Hold your plate up to a strong light source. If you see a “shadow” or a cloudy ring lagging just behind the leading edge of the mycelium, you have bacteria.
- The Stress Test: Transfer a small wedge to a Water Agar plate. Mushroom mycelium has its own energy stores and will “run” across the nutrient-free surface to find food. Bacteria have no onboard energy and will stall, revealing their location.
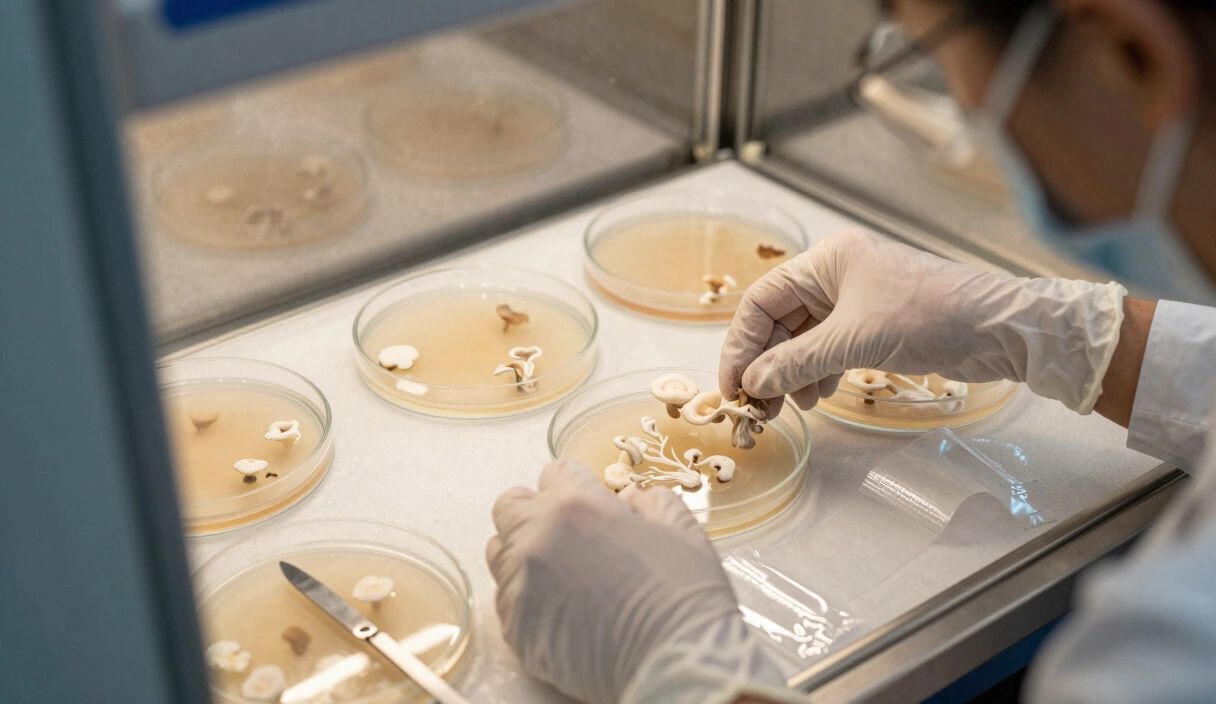
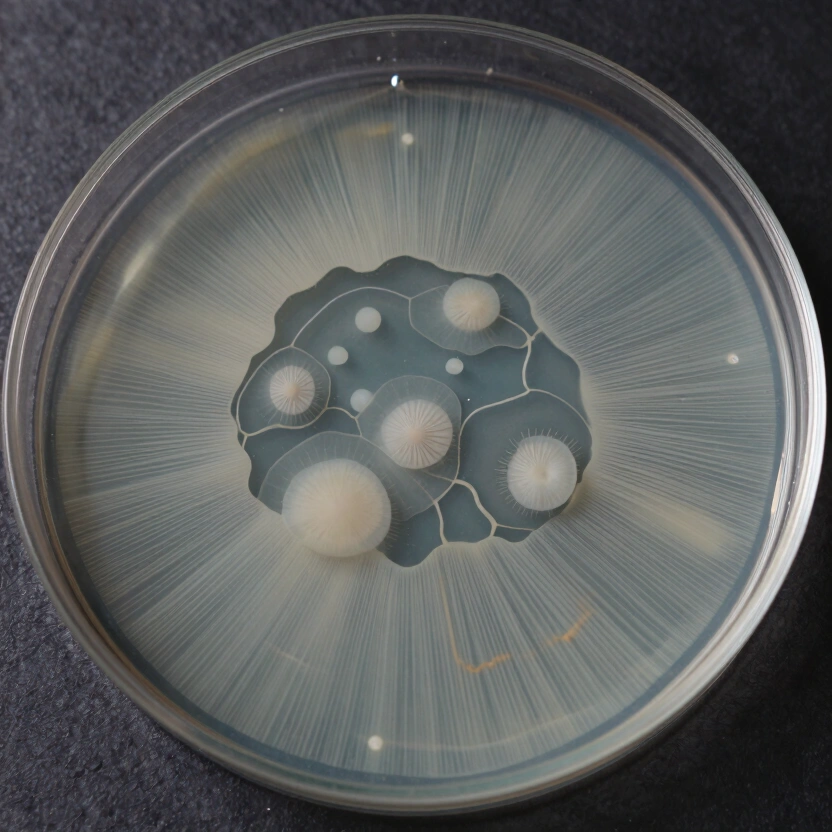
Sectoring & Isolation Masterclass: Selecting the Alpha
When you germinate spores, you are creating a “genetic battlefield.” A single plate might contain 50 different strains, all competing for the same Malt Extract. Your job is to find the “Alpha”—the strain with the highest Biological Efficiency.
The 2mm Biopsy Rule
Never transfer a large chunk of agar.
- The Science: The most vigorous and clean genetics are always found at the very outer Leading Edge of the mycelial circle.
- The Technique: Use a sterilized scalpel to take a tiny 2mm x 2mm square from the most Rhizomorphic (rope-like) tip. By taking a microscopic sample, you minimize the risk of carrying over dormant contaminants from the center of the plate.
Long-Term Storage: Fighting the Genetic Clock
If you keep transferring mycelium from plate to plate indefinitely, you will encounter Mycelial Senescence (aging). The fungus loses its ability to fruit, its growth slows, and it becomes prone to Trichoderma attacks.
1. Working Plates
These are your “front-line” genetics. Use them for day-to-day inoculation. Do not exceed 5–7 transfers (generations) from the original isolation.
2. Master Slants
For long-term archiving, use Slants (test tubes with a slanted agar surface).
- The Protocol: Add a small piece of sterilized wood (like a popsicle stick) to the agar. The mycelium grows into the wood, which acts as a long-term “battery.”
- Cold Dormancy: Store slants in a dedicated refrigerator at 38°F (4°C). Many strains can survive in this state for 2 to 5 years without a single transfer.
Maker Hacks: The High-Precision Low-Cost Lab
Professional labs use Parafilm M to seal plates. It is semi-permeable, allowing for gas exchange while blocking contaminants. However, it is expensive.
The Cling Wrap Revolution: Expert makers have discovered that standard PVC Cling Wrap (Frischhaltefolie), cut into 2cm rolls with a serrated knife, is a superior alternative for the technical homesteader. It provides a tighter seal, prevents the agar from drying out better than Parafilm, and still allows for sufficient gas exchange for the Mushroom Lifecycle.
The Charcoal Trick: Add 1g of Activated Charcoal to your agar recipe. The black background makes the white mycelium pop with incredible contrast. More importantly, it makes the green spores of Trichoderma or the yellow slime of Bacillus visible days earlier than on clear agar.
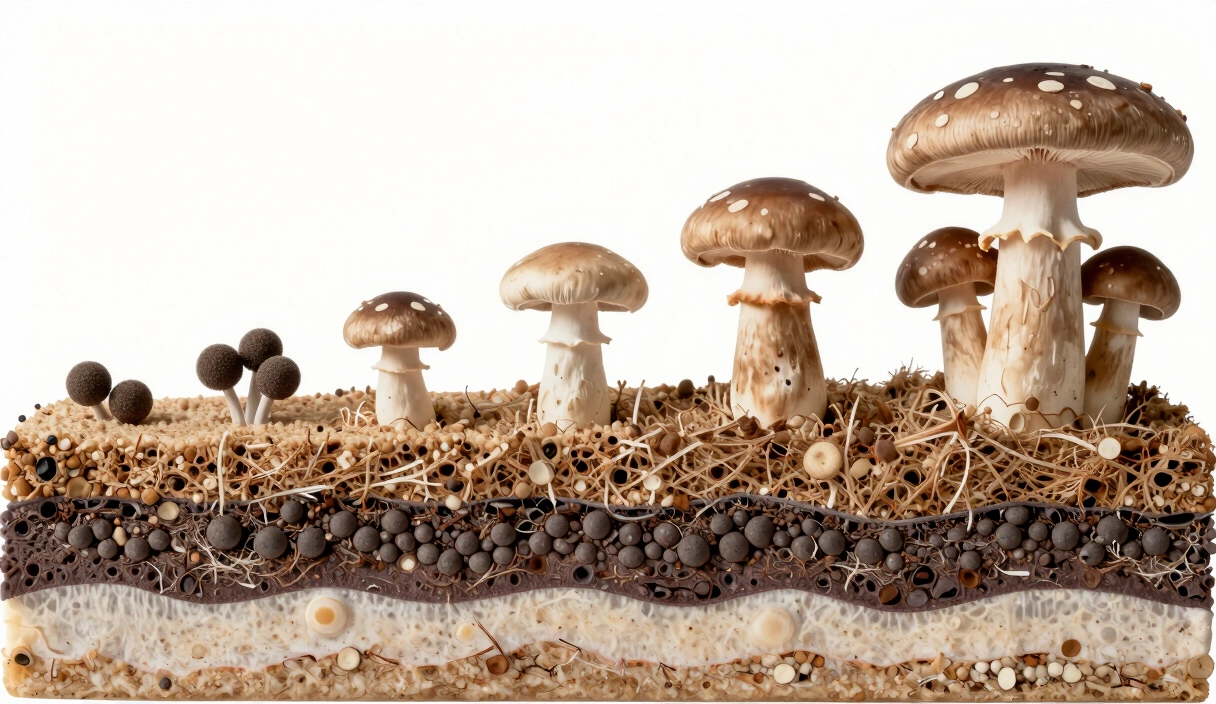
Mastered the Agar? Now Build the Systems.
Agar is the starting point. The environment you move your genetics into determines the final yield.
Building a Martha Tent — Learn how to automate the fruiting of your isolated genetics.
The Ultimate Mushroom Substrate Guide — Match your isolated strains to the correct C:N ratio for maximum BE.
DIY Laminar Flow Hood — The ultimate laboratory upgrade for high-volume agar work.
Frequently Asked Questions
Why is my agar turning liquid after colonization?
This is usually a sign of a Proteolytic Bacterial Contamination. Certain bacteria produce enzymes that digest the agar-agar structure itself. If your plate looks “melted” or has a foul, sweet smell, discard it immediately. It can also be caused by “Acid Hydrolysis” if your recipe was too acidic or if you over-cooked the agar in the pressure cooker (stay below 20 minutes at 15 PSI).
How do I know if my mycelium is “Rhizomorphic” or “Tomentose”?
Rhizomorphic mycelium looks like tree roots or lightning bolts—thick, organized, and directional. Tomentose mycelium looks like cotton balls or soft fuzz. While rhizomorphic growth is usually preferred for its speed and yield, some species (like certain Reishi strains) are naturally tomentose. Always isolation based on the fastest growth, regardless of the fluffiness.
Can I use food coloring in my agar?
Yes! Food coloring is an excellent organizational tool. Use different colors to signify different recipes (e.g., Blue for MEA, Red for PDA) or different species. It also helps in visualizing the “Leading Edge” for transfers. Just ensure the coloring is added before sterilization.
What should I do if I see mold on an agar plate?
Don’t panic. This is exactly what agar is for. If you see a small spot of green mold (Trichoderma) on one side, move to the opposite side of the plate. Take a tiny biopsy from the cleanest, furthest leading edge of the mycelium and transfer it to a new plate. Repeat this “Cleanup Transfer” until you have a 100% clean culture. Agar is your Contamination Filter.
Is it better to buy pre-poured plates or pour my own?
For beginners, Pre-Poured Plates are a great way to start and eliminate one variable of failure. However, for the technical homesteader, pouring your own is 90% cheaper and allows you to customize your recipes (like adding Charcoal or Peptone). Once you have a Still Air Box, pouring your own plates should be your first priority.
Related Articles
The Ultimate Mushroom Substrate Guide: Engineering High-Yield Growth Media
Not all substrates work for all species. C:N ratios, pH buffering, moisture content, and specific recipes matched to the mushrooms you're actually growing.
The Biology of Fungi: From Spore to Biological Efficiency
From spore germination to fruiting body — the complete biology of how mushrooms grow. Enzymatic lignin breakdown, BE calculations, and fruiting triggers.