Spore Prints and Syringe Physics: The Science of Fungal Archiving
The right way to take spore prints, make syringes, and store genetics for years. Covers foil vs. glass, hydration, and long-term viability.
Contents
How long will your mushroom genetics survive if your fridge dies, your agar dries out, or your liquid culture jar gets knocked off the shelf? If you do not have a spore print archived somewhere safe, the answer is: they won’t. Spore archiving is the insurance policy that most home growers skip and later regret. A properly made print on aluminum foil, vacuum-sealed with a desiccant, can preserve viable genetics for 10 to 20 years at refrigerator temperatures.
But making a sterile spore print or a reliable spore syringe is not a five-minute task. Success depends on understanding the electrostatic charge of the spore wall, managing hydration thermodynamics required to reactivate dormant cells, and controlling the adhesion physics between spores and collection surfaces. This guide covers the molecular interactions at play and provides the protocols for prints and syringes that actually perform when you need them years from now.
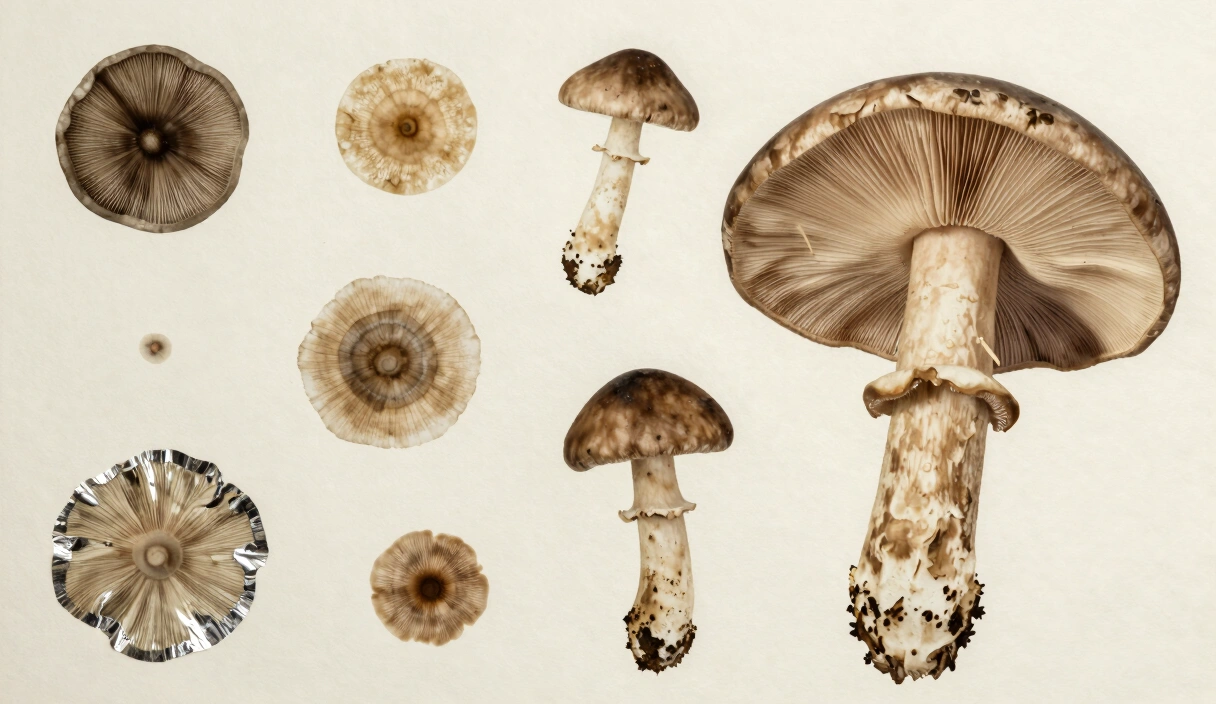
The Physics of Adhesion: Why Aluminum Foil?
A fungal spore is a marvel of evolutionary engineering. Its outer wall, often pigmented with melanin, carries a Net Negative Surface Charge (measured as Zeta Potential). This charge is the primary driver of how spores interact with different collection surfaces.
1. The Image Force (Aluminum Foil)
Technical growers prefer heavy-duty aluminum foil over glass or paper for one primary reason: Electrostatic Induction.
- The Mechanism: When a negatively charged spore approaches a conductive surface like aluminum, it induces a positive “mirror” charge in the metal. This creates a powerful attractive force known as the Image Force.
- The Rationale: This force ensures that the spores “lock” onto the foil surface, preventing them from being easily dislodged by air currents while you move the print to your Still Air Box (SAB).
2. The Dielectric Conflict (Glass and Paper)
- Glass: An insulator. It often carries its own negative charge due to silanol groups on the surface. This creates a localized electrostatic repulsion, making it harder for the spores to form a dense, uniform print unless humidity is high enough to allow capillary bridging.
- Paper: Porous and organic. Paper fibers trap moisture, which can trigger premature germination or, more dangerously, provide a home for bacterial contaminants that thrive on cellulose.
You will find forum posts from growers who swear by glass microscope slides for spore prints. They look clean under a scope, sure. But try peeling a dry print off a glass slide six months later without losing half the deposit to static cling and brittle fracture. Foil folds. Glass does not.
The Technical Protocol: Sterile Spore Deposition
Creating a clean spore print is a game of “Inverse Sterility.” You are not sterilizing the mushroom (which is impossible), but you are managing the fallout of its reproduction.
Last October I lifted a glass jar off a Shiitake cap after 18 hours and found the densest print I have ever produced: a perfect dark-brown ring on Reynolds Wrap heavy-duty foil, the gill pattern visible down to individual lamellae. Three months later, I scraped a corner of that print onto MEA and had visible germination in under 72 hours.
The MycoTechnic Standard Workflow
- Preparation: Sterilize a square of heavy-duty aluminum foil with 70% Isopropyl Alcohol and let it dry inside your SAB or in front of your Laminar Flow Hood.
- The Harvest: Select a healthy, mature mushroom cap just as the veil breaks. Wipe the top of the cap with a damp, sterile towel to remove loose debris.
- The Drop: Place the cap gills-down on the foil.
- The Vapor Shield: Place a clean glass jar over the cap.
- The Physics: This creates a stagnant air pocket with 100% humidity. The moisture triggers the Hilum (the base of the spore) to release its hold on the gill, allowing the spore to fall purely through gravity.
- Timing: Wait 12–24 hours. Remove the cap and let the print air-dry for 2 hours before folding and sealing in a sterile bag.
Genetic Preservation Infrastructure
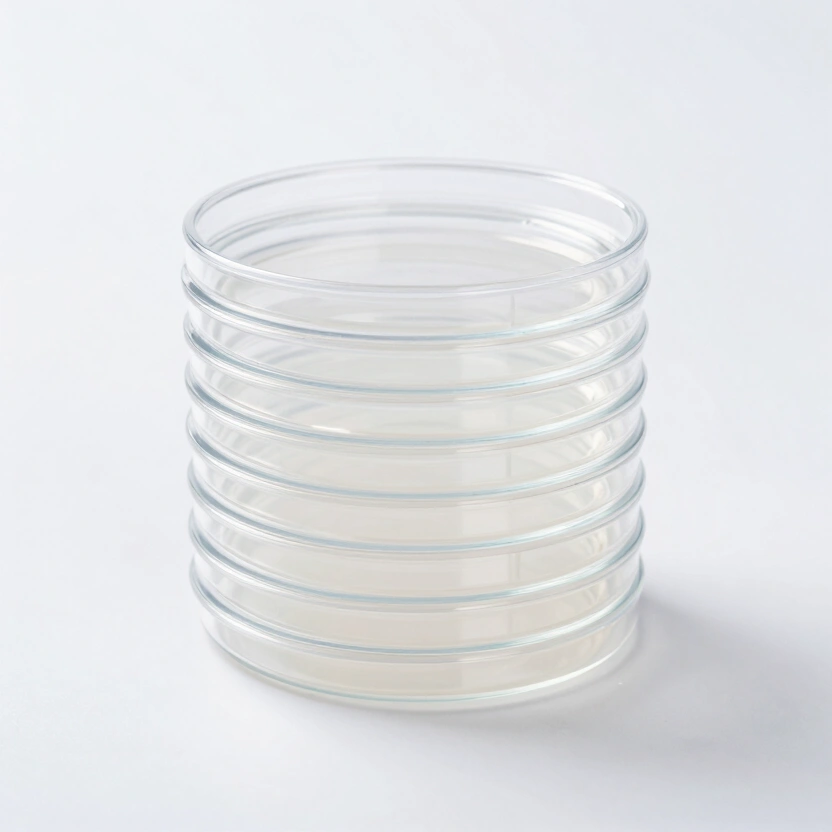
Mushroom Agar According to Kimmig (Pack of 20)
Pre-poured sterile agar plates optimized for fungal mycelium growth.
Check Price on Amazon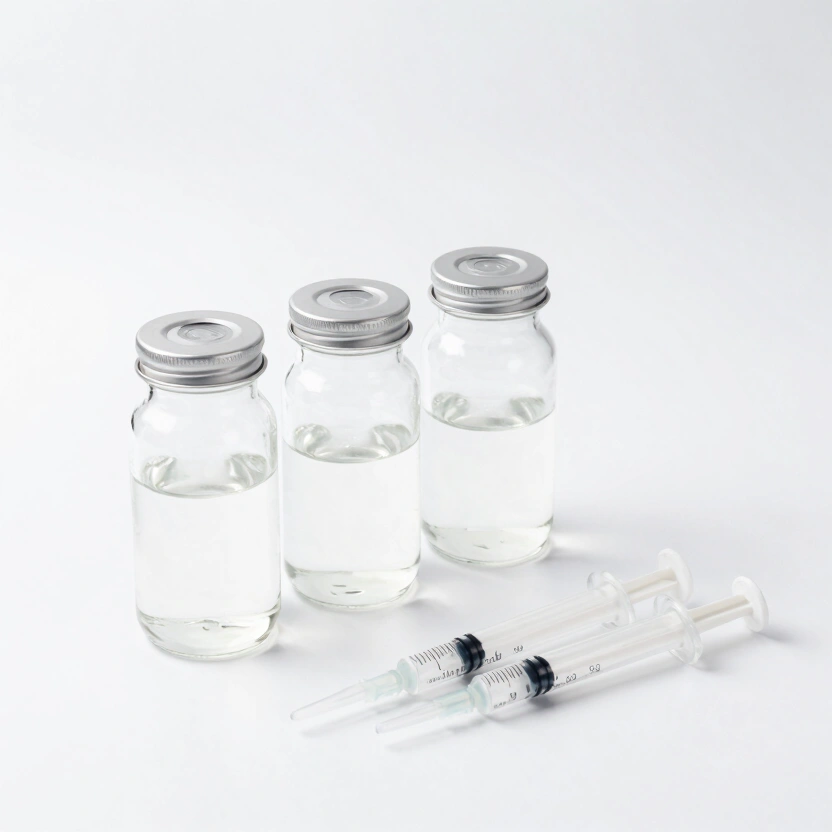
Lion's Mane Mushroom Liquid Culture Making Kit
Professional kit for expanding and storing mushroom liquid cultures.
Check Price on Amazon
Sabouraud 2% Glucose Agar Plates (Pack of 20)
Sterile nutrient media plates for advanced microbiological cultures.
Check Price on Amazon* Affiliate links. Prices last updated March 6, 2026.
Spore Syringe Physics: The 24-Hour Hydration Rule
A spore syringe is a suspension of dormant spores in sterile water. Many beginners fail because they attempt to use a fresh syringe immediately after mixing.
The Rehydration Thermodynamics
In its dormant state, a spore is nearly desiccated. Its protein coat is rigid and impermeable.
- The 24-Hour Window: When spores are introduced to water, they must undergo Imbibition—the absorption of water through the hilum. This process takes time.
- The Technical Metric: Studies show that spores rehydrated for 24 hours in sterile water germinate 300% faster on agar than spores introduced dry.
- The Clumping Problem: Spores are naturally hydrophobic. Utilizing a Magnetic Stirrer for 10 minutes after mixing the syringe shatters spore clumps, ensuring a uniform distribution and more inoculation points per milliliter.
Picture this: you scrape your last spore print into a syringe, skip the 24-hour soak, inoculate 12 jars of rye, and nothing happens for three weeks. The spores were viable; they just never rehydrated enough to germinate. That print is gone now. The cost of impatience was an entire genetic line.
Archiving and Viability: The Biological Clock
How you store your spores determines their “Genetic Half-Life.”
| Storage Method | Viability (Expected) | Pros / Cons |
|---|---|---|
| Spore Print (4°C, Vacuum) | 10 – 20 Years | Elite longevity; requires SAB to use. |
| Spore Syringe (4°C, Dark) | 6 – 12 Months | Easy to use; high risk of DNA degradation over time. |
| Room Temp (Print) | 2 – 5 Years | Subject to seasonal humidity spikes. |
| Sterile Water (Scrapings) | 5 – 10 Years | Good middle ground for frequent lab work. |
Technical Tip: For the absolute longest archiving, place your folded foil prints in a Mylar bag with a desiccant and an oxygen absorber, then vacuum-seal the bag before placing it in the refrigerator.
A vacuum-sealed foil print in the back of your fridge is worth more than a dozen working plates if your lab ever takes a contamination hit. When you are ready to bring those archived spores back to life, the 24-hour hydration soak makes a measurable difference in germination speed, and you will want a proper monotub setup standing by for when those genetics are ready to fruit.
Frequently Asked Questions
Can you take a spore print from a grocery store mushroom?
Store-bought mushrooms have been refrigerated for days and handled by multiple people, which reduces spore viability and loads the surface with bacteria and wild molds. You can attempt it, but expect to perform multiple rounds of agar cleanup transfers before you isolate anything usable.
Why is my spore print invisible on the foil?
Species like White Button and many Oyster varieties produce hyaline (clear/white) spores. On white paper, they are invisible. Aluminum foil’s silver-grey surface provides the contrast needed to see prints of any color, from Shiitake’s dark brown to Oyster’s pale white. Hold the foil at an angle under a bright light and you will see the deposit.
Does tap water ruin a spore syringe?
Chlorine and dissolved minerals in tap water can be toxic to single-celled spores, and trace organic matter that survives boiling provides a food source for bacteria inside the syringe. Use pharmacy-grade sterile water or triple-distilled water for any syringe you plan to store longer than a few weeks.
There’s a big black clump floating in my spore syringe — is it contaminated?
That clump is millions of individual spores held together by Van-der-Waals forces. Shake the syringe hard, tap it against a table, or run it across a vortex mixer to break it into invisible individual spores. If you can see spore clumps, they have not been dispersed enough. The most effective syringes look like clear water.
Should I freeze spore prints for long-term storage?
Standard home freezers cycle between temperatures to stay frost-free, and that fluctuation damages spore cells through ice-crystal expansion. A stable 38 degrees F refrigerator is enough for 10+ years of storage. True cryo-preservation at minus 80 degrees C requires glycerol as a cryo-protectant and is a separate protocol entirely.
Related Articles
Liquid Culture Masterclass: Engineering High-Speed Fungal Inoculants
How to make, store, and expand mushroom liquid cultures. Covers peptone ratios, sugar clarity, and why a $22 stir plate beats a $60 one.
Cordyceps Militaris: The Laboratory Guide to High-Yield Vegan Cultivation
Growing Cordyceps militaris on rice substrate under 450nm LEDs. No insects required — just sterile technique, patience, and a humidity controller.
Strain Isolation and Sectoring: Mastering Mycelial Purity and Longevity
How to isolate fast-growing mushroom genetics on agar through sectoring. Includes transfer protocols and signs of mycelial senescence.