Arduino and ESP32 for Mycology: Engineering Custom Environment Controllers
Build a custom mushroom environment controller with an ESP32. NDIR CO2 sensors, relay logic, and the code that automates humidity and FAE.
Contents
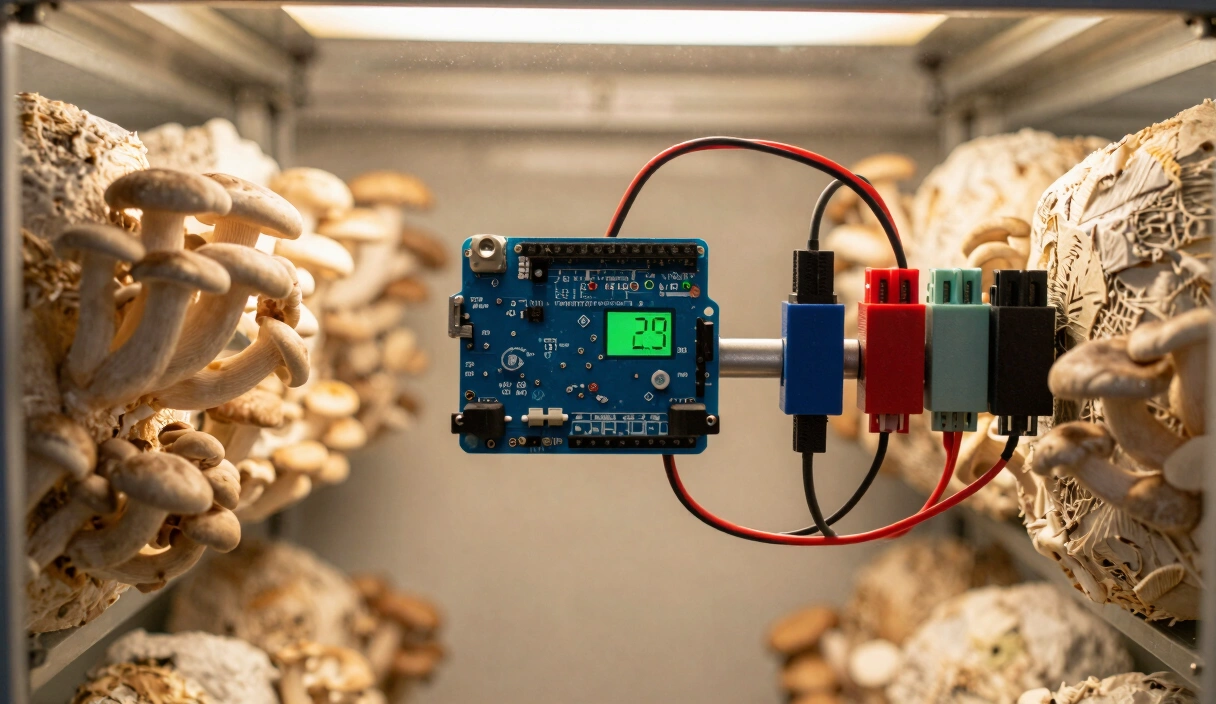
You do not need an Arduino or ESP32 to grow mushrooms. A $12 analog timer and a cheap humidistat will get you through a single monotub flush just fine. But the moment you scale to a Martha Tent running multiple species – Lion’s Mane at 800 ppm CO2, Blue Oysters demanding 6 air exchanges per hour, humidity swinging between 88% and 95% – those dumb switches cannot keep up with the metabolic shifts happening inside the tent. That is when automation stops being a hobby project and starts being the only way to hold your fruiting parameters steady.
The real barrier to myco-automation is not code complexity. It is sensor survival. At 95% Relative Humidity, consumer-grade electronics corrode, drift, and fail. To build a controller that actually lasts, you need to understand sensor physics, implement proper hysteresis logic so your relays do not flutter themselves to death, and maintain total galvanic isolation between your 3.3V microcontroller and the 120V/230V mains powering your humidifier and fans.
The Brain: Choosing Between Arduino and ESP32
For a mushroom grow room, the choice of microcontroller dictates your long-term scaling potential.
1. Arduino (The Reliable Workhorse)
- Pros: Simple 5V logic (easier for many sensors), highly robust against power fluctuations, massive library support for mycology sensors.
- Best For: Self-contained, offline controllers where reliability is the only metric.
2. ESP32 (The IoT Powerhouse)
- Pros: Integrated Wi-Fi and Bluetooth, dual-core processing, higher clock speed (240MHz).
- Technical Edge: The ESP32 allows for IoT Integration. You can stream live sensor data to a dashboard (like Home Assistant or Grafana), allowing you to spot Thermogenesis spikes while away from the farm.
- Best For: Professional-scale operations requiring data logging and remote alerting.
Sensor Engineering: Managing the 95% RH Environment
The greatest challenge in mycology automation is sensor failure. A standard humidity sensor like the DHT22 will drift and fail within weeks when exposed to the saturated air required for Lion’s Mane.
1. Humidity: The SHT31 Advantage
Technical growers utilize the Sensirion SHT31 or SHT4x series.
- The Heater-Bit: These sensors feature an internal heating element. By activating the heater for 1 second before every reading, you evaporate micro-condensation on the sensor surface, ensuring a true reading of the ambient air rather than the water droplets on the housing.
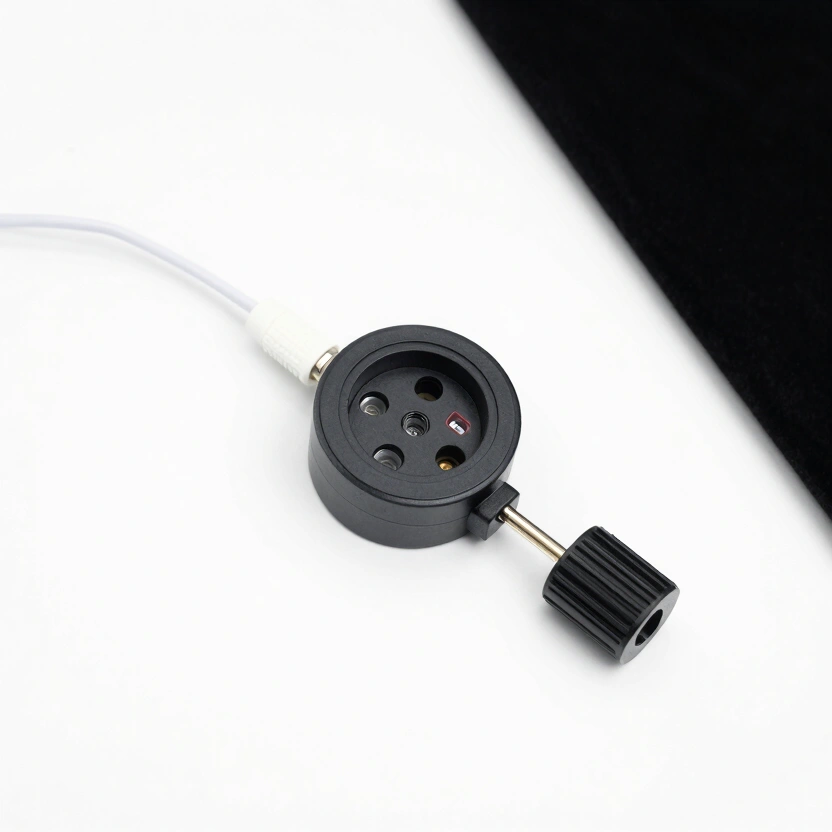
2. CO2: NDIR vs. Chemical Sensors
Never use cheap “eCO2” (equivalent CO2) sensors based on VOCs. You require Non-Dispersive Infrared (NDIR) technology.
- The Physics: NDIR sensors like the Senseair S8 or MH-Z19B use an infrared beam to measure the specific absorption spectrum of CO2 molecules.
- The Protection Rule: In a mushroom room, the NDIR gold-reflective chamber can be ruined by condensation. You must utilize an Aspiration Box—the sensor is mounted in a dry, external box, and a small air pump pulls samples from the tent through a tube and a hydrophobic filter.
Do not skip the aspiration box. I mounted a bare MH-Z19B inside my Martha for “just one test run” and had a flooded optical chamber within 72 hours – $28 sensor, dead.
Foundational Components for Myco-IoT
KETOTEK Digital Humidity Regulator Socket
Plug-and-play hygrostat sensor for automated humidity management.
Check Price on Amazon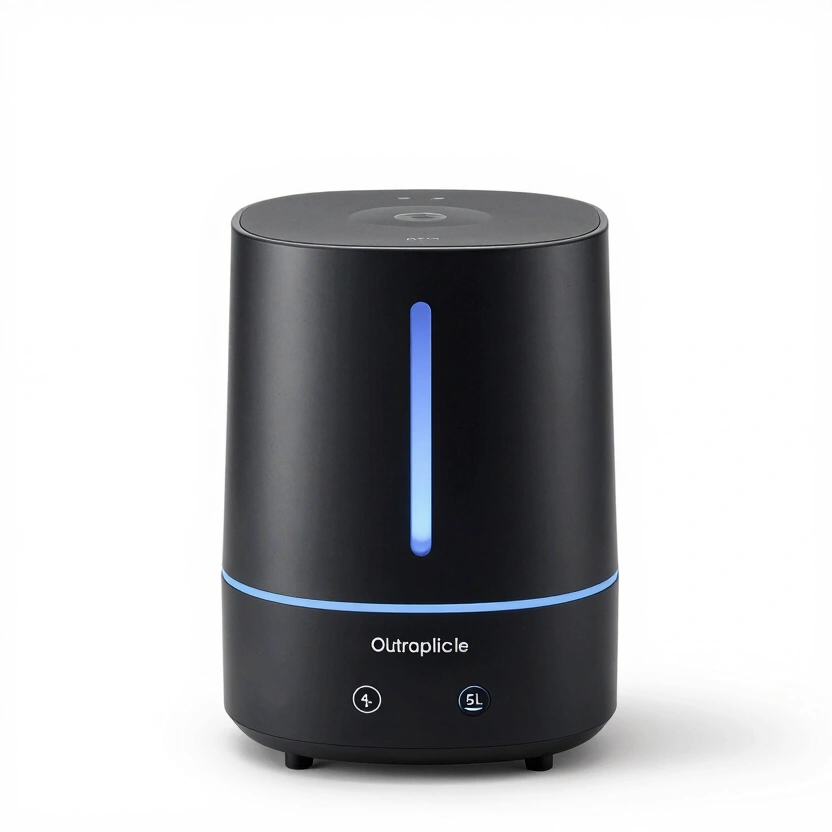
Spider Farmer Smart Ultrasonic Humidifier (5L)
Automatic humidifier with built-in hygrometer for precise fruiting chamber control.
Check Price on Amazon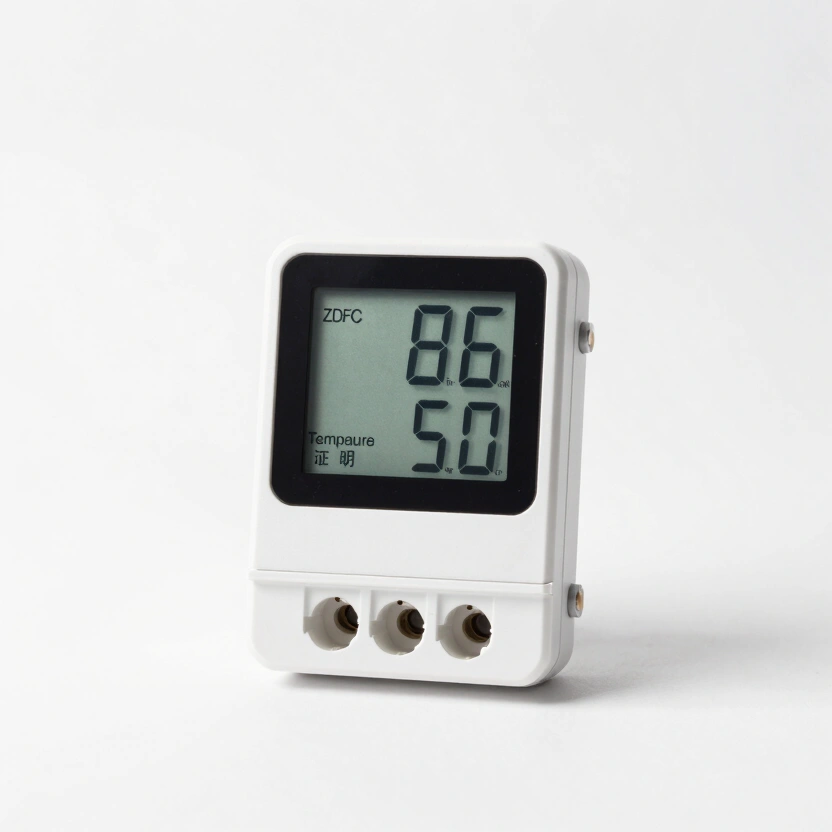
Hygrostat Socket Temperature & Humidity Switch
Integrated controller for monitoring and switching climate gear in grow tents.
Check Price on Amazon* Affiliate links. Prices last updated March 6, 2026.
Control Logic: Implementing Hysteresis in C++
A common error in DIY automation is the “Relay Flutter.” If your setpoint is 90% RH, and the humidity sits at 89.9%, the relay will switch ON and OFF hundreds of times per minute, burning out your ultrasonic humidifier.
The Hysteresis Algorithm
You must implement a Deadband—a range where the system takes no action.
- Example: ON at 88% RH, OFF at 93% RH.
- The Code (Simplified):
if (currentRH < 88) {
  digitalWrite(RELAY_PIN, HIGH); // Humidifier ON
} else if (currentRH > 93) {
  digitalWrite(RELAY_PIN, LOW); // Humidifier OFF
}
This 5% “buffer” ensures that your mechanical components have a long operational lifespan and that the environment remains stable without unnecessary oscillating.
Do not set a 1% deadband thinking “tighter control = better mushrooms.” I burned through two ultrasonic disc assemblies in a single month before I realized the relay was cycling 200+ times per hour. Widen the band. The mycelium does not care about a 3% humidity swing – your hardware does.
Hardware Architecture: Safety and Isolation
You are combining high-precision electronics with high-voltage mains power (110V/230V) and high humidity—a recipe for catastrophic failure if not engineered correctly.
1. Galvanic Isolation
Utilize Optocoupled Relay Modules. These modules use light to bridge the gap between your 3.3V ESP32 and the high-voltage circuit. If a short circuit occurs at the humidifier, the high voltage cannot “back-feed” into your microcontroller.
2. The IP65 Standard
Every electronic component must be housed in an IP65-rated Enclosure. Use waterproof cable glands for all sensor wires and power leads. Never leave exposed “breadboard” connections in a grow environment; the high humidity will cause oxidation and trace-bridging within days.
Do not run your prototype on a breadboard inside the grow room “just to test.” Exposed copper traces at 95% RH develop green oxidation within 48 hours, and once a solder bridge forms between your relay signal pin and the 5V rail, you are looking at a dead microcontroller and a humidifier that will not shut off.
Once your hysteresis deadband keeps the relay from cycling more than a few times per hour and the Sensirion SHT31 holds an accurate reading inside its aspiration box, the controller is done – now you need the physical structure it manages. Build the tent with the Martha Tent guide.
Frequently Asked Questions
Is the MH-Z19B CO2 sensor accurate enough for mushroom growing?
For hobbyist and small commercial setups, the MH-Z19B is adequate – 0-5,000 ppm range, +/-50 ppm accuracy. The weakness is its Automatic Baseline Calibration (ABC), which assumes the lowest reading in 24 hours equals 400 ppm fresh air. If your grow room never fully vents, the sensor drifts. Vent the room to outside air or manually calibrate once a week.
How do I waterproof an ESP32 in a 95% humidity grow room?
An IP65 enclosure is not enough – humidity seeps in through cable glands. Apply conformal coating (acrylic or silicone spray) directly to the ESP32 board before mounting it. This creates a waterproof barrier over traces and solder joints that prevents corrosion from micro-condensation.
Can Home Assistant control a mushroom farm through an ESP32?
The ESP32 pairs with ESPHome, which lets you write simple YAML config files instead of C++ to manage relays, sensors, and alerts. You can monitor CO2, humidity, and temperature from your phone, set up push notifications for spike events, and log yield data alongside your Martha Tent environmental graphs.
How far can I run I2C sensor wires like the SHT31?
Keep I2C runs under 3 feet (1 meter) – the protocol was designed for on-board communication, not long distances. Beyond that threshold, signal degradation causes phantom readings. For longer runs, switch to RS485, which handles up to 1,000 feet without issues.
Why does my CO2 sensor read 5,000 ppm in fresh air?
Water condensed inside the NDIR optical chamber. The droplets block the infrared beam, and the sensor interprets the signal loss as extreme CO2 concentration. Pull the sensor out and dry it in a warm room for 24 hours. Prevent recurrence by mounting the sensor inside an aspiration box with a PTFE membrane filter over the intake port.
Related Articles

Building a Martha Tent: The Professional Guide to Automated Fruiting
How to build a Martha tent fruiting chamber with automated humidity, FAE, and sensor monitoring. Includes parts list and wiring diagram.
The Log Inoculation Masterclass: Engineering High-Yield Outdoor Mushroom Beds
Drill, plug, wax, wait. The log inoculation method produces shiitake for 4-6 years from a single hardwood log. Moisture, spawn depth, and timing protocols.

DIY Laminar Flow Hood Guide: Engineering Professional Sterility at Home
Build your own laminar flow hood for under $300. HEPA H14 filter selection, blower CFM calculations, and the plenum design that actually works.