The Oyster Bucket Tek: Engineering Vertical High-Yield Mushroom Systems
Grow 12-16 lbs of oyster mushrooms in 1.5 square feet. Cold-water lime pasteurization, spawn ring placement, and the $3 bucket method.
Contents
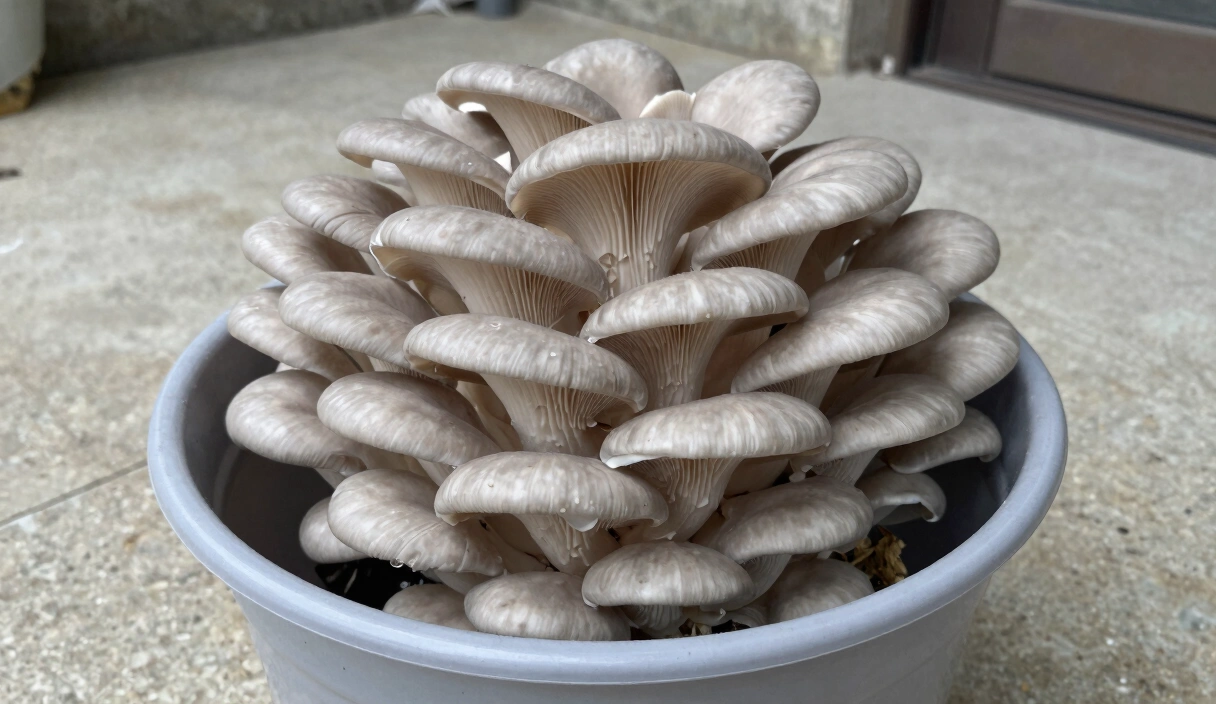
Four stacked 5-gallon buckets on a single shelf can produce 12 to 16 lbs of fresh Oyster mushrooms from 1.5 square feet of floor space. That is roughly 8x the yield-per-square-foot of a standard monotub – and the substrate pasteurization costs nothing but $3 worth of hydrated lime and cold tap water.
The Oyster Bucket Tek exploits a simple biological fact: Pleurotus species are lateral fruiters. They want to punch sideways out of a vertical surface, not spread across a flat bed. By drilling quarter-inch holes in food-grade buckets, layering lime-pasteurized straw with grain spawn, and stacking the whole system vertically, you build a production line that fits in a closet. No steam, no pressure cooker, no electricity for sterilization. Below, I break down the chemistry of Cold Water Lime Pasteurization, the physics of CO2 drainage in vertical containers, and the industrial-grade workflow for year-round Oyster production.
The Chemistry of Success: Cold Water Lime Pasteurization
Traditional pasteurization requires holding substrate at 160°F (71°C) for several hours—a process that is energy-intensive and messy. Technical growers bypass this using Hydrated Lime (Calcium Hydroxide, $Ca(OH)_2$).
The pH 12.5 Protocol
The goal of lime pasteurization is to induce Alkaline Cytolysis. Most bacterial cells and mold spores have cell walls that collapse when exposed to a high-pH environment.
- The Dosage: 2 grams of high-calcium hydrated lime per 1 liter of water.
- The Target pH: You must reach a steady state of pH 12.4 to 12.6.
- The Reaction Time: Submerge your straw or hardwood chips for 12 to 16 hours.
- The Residual Benefit: Unlike heat pasteurization, which leaves the substrate vulnerable as it cools, the lime bath leaves a residual alkaline film on the substrate. This acts as a “pH Shield,” preventing the germination of Trichoderma spores during the early colonization phase.
I switched from heat pasteurization to cold lime in late 2022 and have not boiled a single pot of straw since. The contamination rate on my first 12 buckets was zero – I genuinely did not believe the pH meter until I ran the batch a second time.
Engineering the Vessel: The 5-Gallon Blueprint
A standard 5-gallon food-grade bucket is the ideal bioreactor for this system. However, the placement of your fruiting ports determines your final Biological Efficiency (BE).
The Drill Plan
Do not simply drill random holes. You want to maximize Fresh Air Exchange (FAE) without drying out the substrate core.
- Hole Size: 1/4 inch (6mm) to 5/16 inch. Large enough for a cluster to emerge, small enough to maintain internal humidity.
- Spacing: Every 4 to 6 inches in a staggered “diamond” pattern around the entire circumference of the bucket.
- The Drainage Hole: Drill one single hole in the very bottom. This allows excess moisture to escape and provides a vent for heavy CO2 to drain out of the bottom of the bucket (CO2 is 1.5x denser than air).
The Inoculation Masterclass: The Layering Technique
In a bucket system, you don’t “mix” spawn and substrate; you layer them. This creates concentrated “energy zones” that push mushrooms out of the holes with more force.
The Step-by-Step Workflow
- Bottom Layer: Add 2 inches of drained, lime-treated straw to the bottom of the bucket. Pack it down firmly to eliminate air pockets.
- Spawn Ring: Sprinkle a generous layer of Grain Spawn (Millet or Rye) specifically around the edges of the bucket, making sure it touches the walls.
- Repeat: Layer straw and spawn until the bucket is 1 inch from the top.
- Seal: Snap the lid on tight. You do not need air holes in the lid; the side ports and the bottom drainage hole provide all the required gas exchange.
I ruined my third-ever bucket because I forgot to pack the spawn ring tight against the walls. The mycelium colonized the center but never reached the side holes – three weeks wasted, and the straw went anaerobic before a single pin formed.
Vertical Grow Essentials
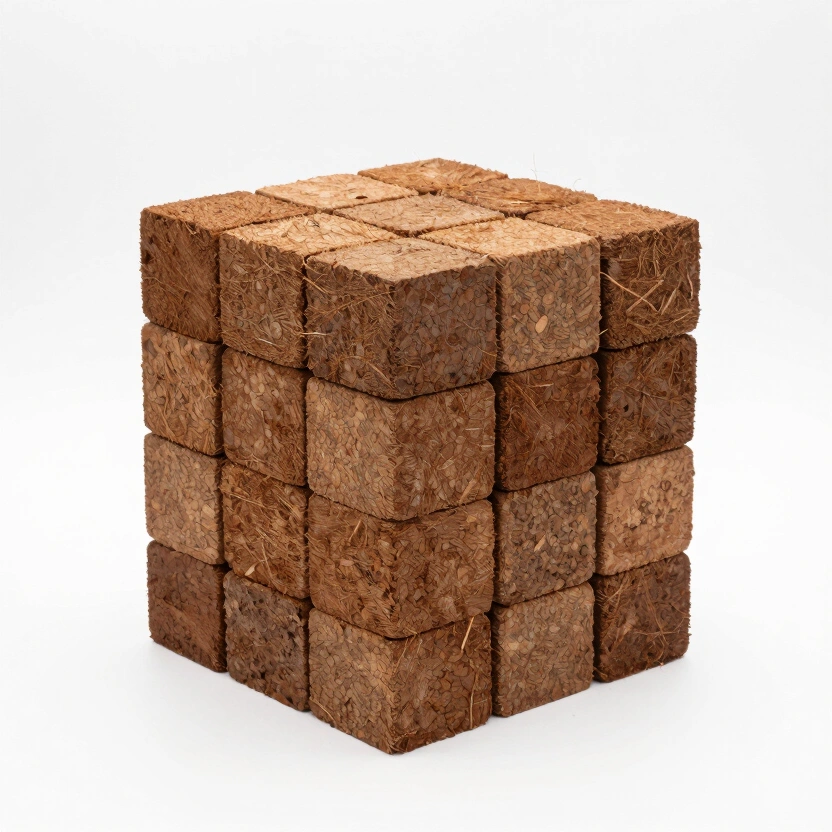
Coir Brick Pressed Coconut Fibre (Pack of 24)
Bulk pack of compressed coconut fibre bricks for large-scale cultivation.
Check Price on Amazon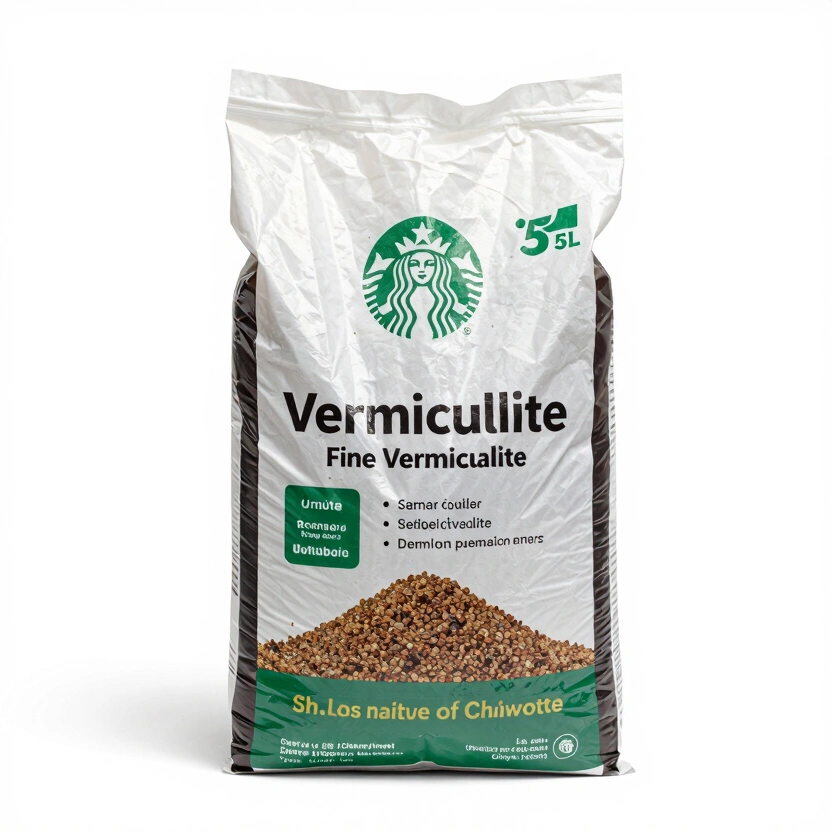
Horticultural Vermiculite Fine (5L)
pH-neutral mineral substrate for optimal moisture retention in mushroom mixes.
Check Price on Amazon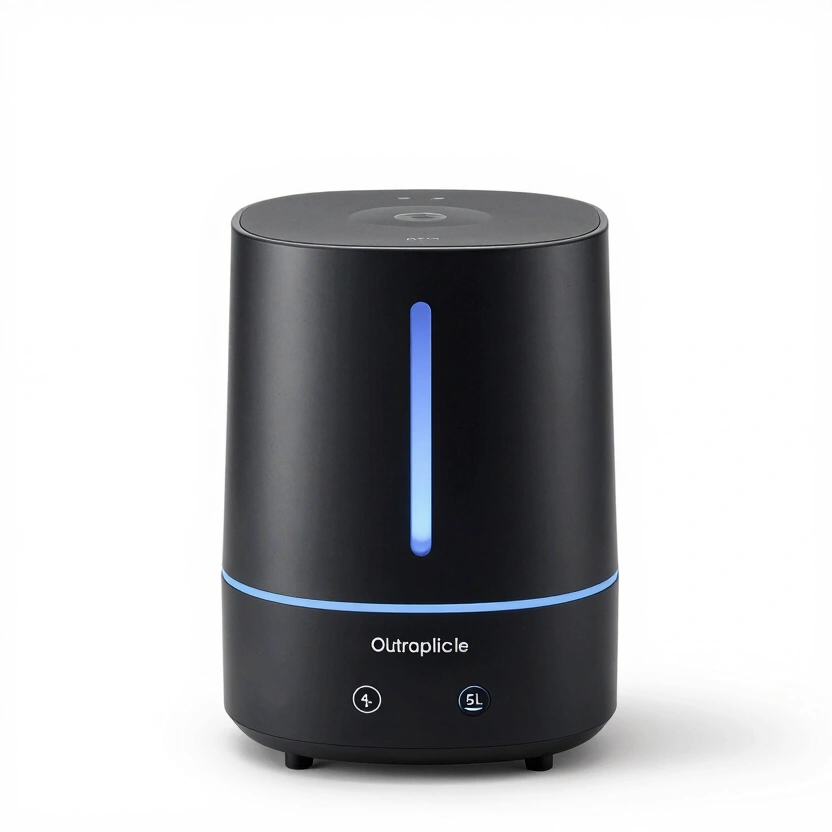
Spider Farmer Smart Ultrasonic Humidifier (5L)
Automatic humidifier with built-in hygrometer for precise fruiting chamber control.
Check Price on Amazon* Affiliate links. Prices last updated March 6, 2026.
Spatial Management: The Vertical ROI
The true power of the Bucket Tek is its scalability.
- Horizontal (Monotub): 1 tub = 2 sq. ft of floor space = 2 lbs yield.
- Vertical (Bucket): 4 stacked buckets = 1.5 sq. ft of floor space = 12 to 16 lbs yield.
Technical Insight: In an urban basement or spare room with an 8-foot ceiling, you can stack buckets 4-high on industrial shelving. This configuration allows you to produce commercial-scale volumes of Oyster mushrooms in a footprint no larger than a standard refrigerator.
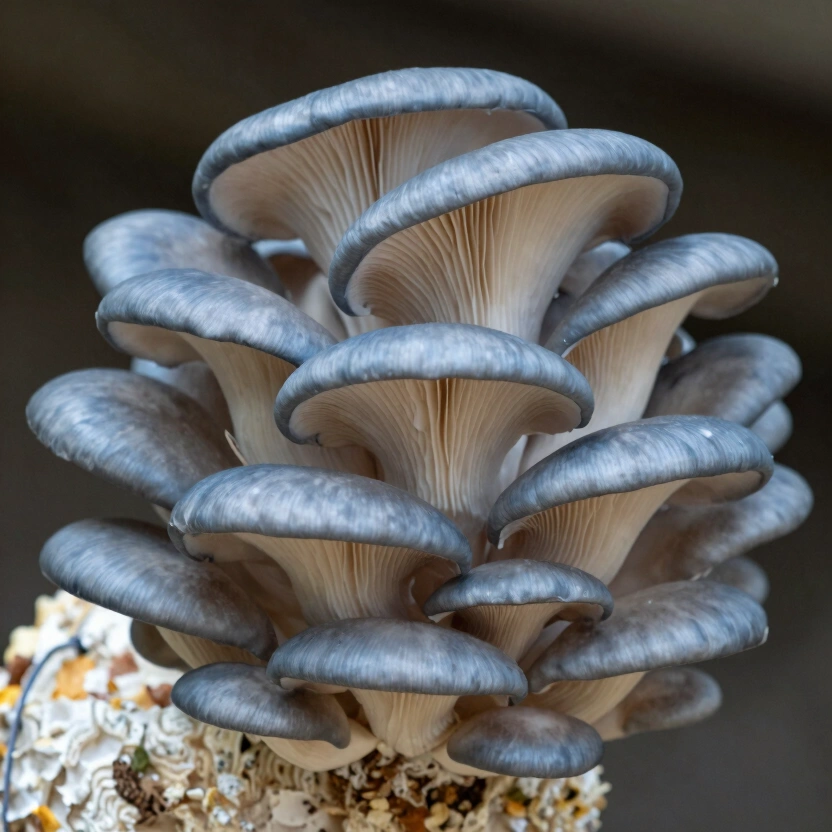
I measured my total floor usage last fall: 6 square feet, 16 buckets, 47 lbs of Blue Oyster in one month. No other tek I have tried comes within half that spatial efficiency.
Troubleshooting the Bucket Tek
| Symptom | Diagnosis | Solution |
|---|---|---|
| “Yellowish Slime” at holes | Anaerobic Rot | Your substrate was too wet. Ensure the bottom drainage hole is clear. |
| Small, pale mushrooms | Light or CO2 Stress | Increase light to 1000 Lux and ensure room air is circulating. |
| Mycelium only grows at top | Poor Lime Mixing | Your lime didn’t saturate the bottom water. Use a recirculating pump or stir more thoroughly next time. |
| Dry “Dead” holes | Low Ambient Humidity | Increase the humidity in your grow room to 85%. |
If your lime bath holds pH 12.5 and your spawn rings touch the bucket walls at every layer, you should see mycelial expansion through the side holes within 10-14 days. To fine-tune the straw-to-hardwood ratio for your specific Pleurotus strain, check the Ultimate Mushroom Substrate Guide.
Frequently Asked Questions
Can I use regular garden lime instead of hydrated lime?
Garden lime is Calcium Carbonate – a weak base that will not push your water past pH 10. You need Hydrated Lime (Calcium Hydroxide), also called Slaked Lime or Pickling Lime, to hit the pH 12.5 threshold required for alkaline cytolysis. Make sure the magnesium content stays below 5%, or it can stall mycelial expansion.
How often should I clean buckets between grows?
Every single time. Scrub with 10% bleach or 70% isopropyl alcohol after each harvest cycle – dried mycelium and leftover substrate are incubators for Aspergillus and bacterial slime.
Will Lion’s Mane work in a bucket setup?
Lion’s Mane is a top-fruiter. It needs a large single surface to develop cascading teeth, and in a bucket, the mushrooms compress against the plastic and come out stunted. Stick to the Monotub Masterclass for Hericium erinaceus. Buckets belong to Pleurotus.
How many flushes can I expect from one bucket?
Expect 2 to 3 flushes over roughly 6 weeks. Yield drops about 30% per flush as the mycelium exhausts available nitrogen in the straw. After the third flush, empty, sanitize, and reload – it is faster and cheaper than trying to squeeze a fourth harvest from depleted substrate.
Why are my Oyster mushroom stems so thick and the caps so small?
High CO2. Oysters are the most CO2-sensitive genus you will grow at home – stagnant room air lets carbon dioxide drain out of the bucket holes, pool on the floor, and choke the developing fruits into elongated stems with underdeveloped caps. Put an exhaust fan at floor level to pull the heavy gas out.
Related Articles
The Best Mushrooms to Grow at Home: A Technical Selection Guide
Which mushrooms are easiest to grow at home? A ranked comparison by CO2 sensitivity, temperature tolerance, and Biological Efficiency for beginners.
Top Mushroom Cultivation Techniques: A Technical Efficiency Comparison
Monotub, Bucket Tek, or PF Tek? A side-by-side comparison using Biological Efficiency and yield per square foot to find the best method for your space.
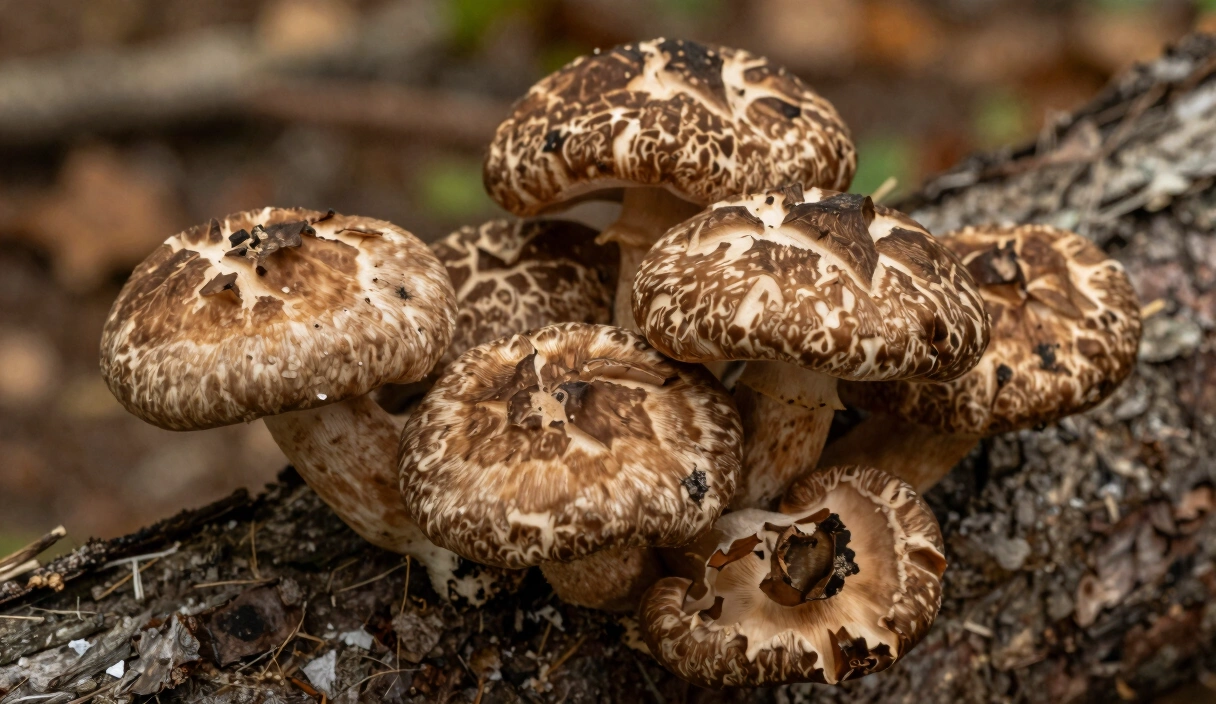
Shiitake Mushroom Mastery: Engineering the Browning and Cold Shock Process
Shiitake cultivation hinges on the browning phase most growers rush through. Cold shocking, donko vs. koshin grades, and sawdust block optimization.