
DIY Laminar Flow Hood Guide: Engineering Professional Sterility at Home
Build your own laminar flow hood for under $300. HEPA H14 filter selection, blower CFM calculations, and the plenum design that actually works.
Contents
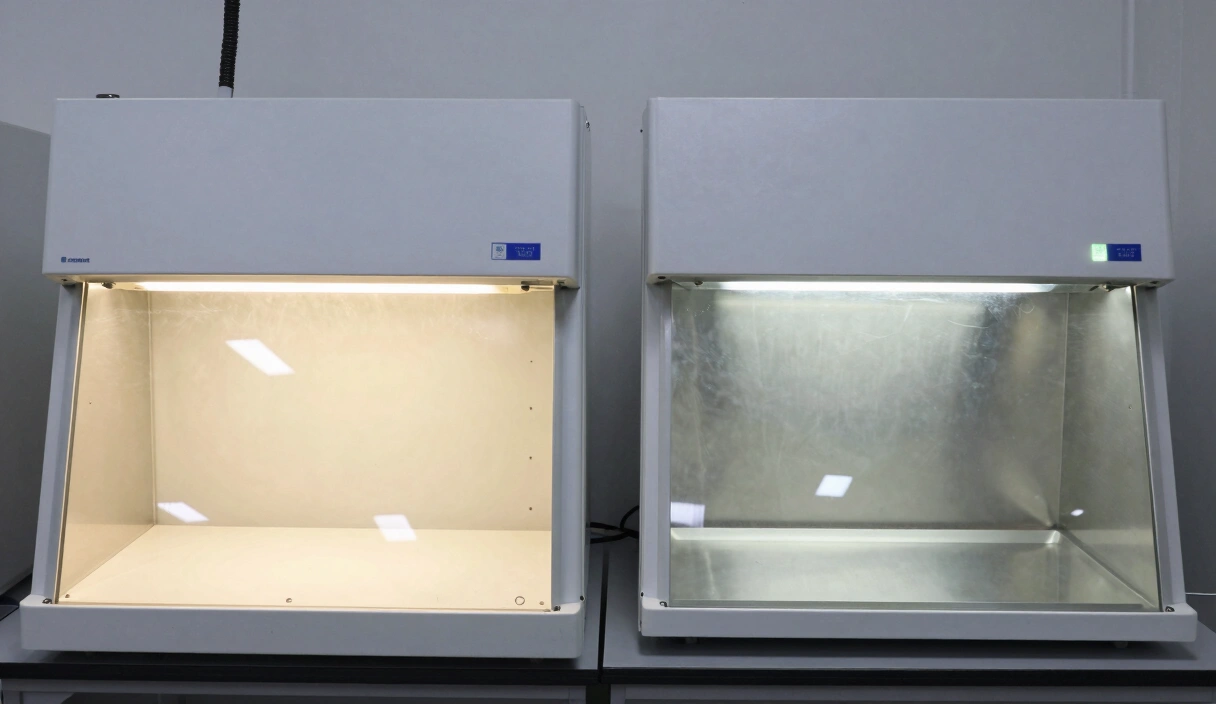
The first time you turn on a finished DIY laminar flow hood and hold your hands six inches from the filter face, you feel something strange. A perfectly even curtain of air, cool and smooth, pressing against your skin with zero turbulence. No gusts. No eddies. Just a clean, constant push that feels like standing behind a waterfall made of nothing. That is laminarity. That is what 400 CFM of HEPA-filtered air feels like when the plenum is built correctly, and it is the moment you realize the $300 you spent on plywood and a squirrel cage blower just replaced a $1,500 commercial unit.
Building a DIY laminar flow hood is an exercise in mechanical engineering, not carpentry. The difference between a functional hood and an expensive box fan is your ability to match a blower’s performance curve to the static pressure resistance of a HEPA H14 filter. Get this math wrong and you end up with turbulent air that pulls contaminants toward your agar instead of away from it. Below, I break down the physics of plenum design, the CFM calculations, and the sealing protocols that separate a real cleanroom tool from a weekend project that collects dust.
The Physics of Laminarity: Beyond the Filter
The term “Laminar” refers to a specific state of fluid flow where all particles move in parallel paths at the same velocity. In mycology, our target is a Face Velocity of 100 Feet Per Minute (FPM).
The Reynolds Number Conflict
Airflow is governed by the Reynolds Number ($Re$). When air exits a blower, it is highly turbulent (high $Re$), characterized by swirling vortices that trap and move contaminants.
- The Laminar Transition: By pushing this turbulent air through a dense HEPA matrix, we force the air molecules into a restricted path, lowering the Reynolds Number and creating a uniform “velocity profile.”
- The Sterile Wall: At 100 FPM, the air pressure is strong enough to push away your breath and skin dander but slow enough that it doesn’t create “Dead Zones” (stagnant pockets) when hitting your tools or hands.
Engineering the Plenum: The Pressure Puffer
The Plenum is the chamber between your blower and your HEPA filter. Its job is to act as a pressure equalizer.
The Static Pressure Regain
If your plenum is too shallow (e.g., 2–4 inches), the air from the blower will hit the back of the filter like a jet, creating a “Hotspot” in the center where the air is too fast, and “Cold Zones” at the corners where it is too slow. Do not skip the depth calculation to save on plywood. A 4-inch plenum on a 24x24 filter produces a velocity gradient so uneven that the center reads 160 FPM while the corners sit at 40 FPM. That is not a flow hood; that is a contamination funnel.
- The MycoTechnic Standard: For a 24"x24" filter, your plenum must be at least 8 to 10 inches (20-25 cm) deep.
- The Baffle System: To further stabilize pressure, technical builders install a “diffuser plate”—a sheet of perforated metal or wood—3 inches in front of the blower intake inside the plenum. This breaks the initial air jet and forces the pressure to build evenly across the entire HEPA surface.
Matching Blower to Filter: The Fan Curve Analysis
The most common failure in DIY builds is selecting an underpowered fan. You cannot use an axial “window fan” or a simple inline duct fan; these cannot push air against resistance.
1. Identify the Filter Resistance
A standard 6-inch-thick HEPA H14 filter has a Static Pressure (SP) Resistance of roughly 1.0" WG (Water Gauge) when running at its rated speed.
- Pre-Filter Load: A MERV-8 pre-filter adds another 0.2" WG.
- Total System Resistance: ~1.2" WG.
2. Calculate Required CFM
$$ ext{CFM} = ext{Filter Area (sq ft)} imes 100 ext{ FPM}$$
- For a 2’ x 2’ filter ($4 ext{ sq ft}$), you need 400 CFM.
3. Read the Fan Curve
Look at the manufacturer’s “Blower Curve” graph. You need a blower (typically a Squirrel Cage centrifugal fan) that can deliver 400 CFM specifically at 1.2" of static pressure. A blower rated for “500 CFM Free Air” will likely drop to 200 CFM under load, resulting in certain contamination.
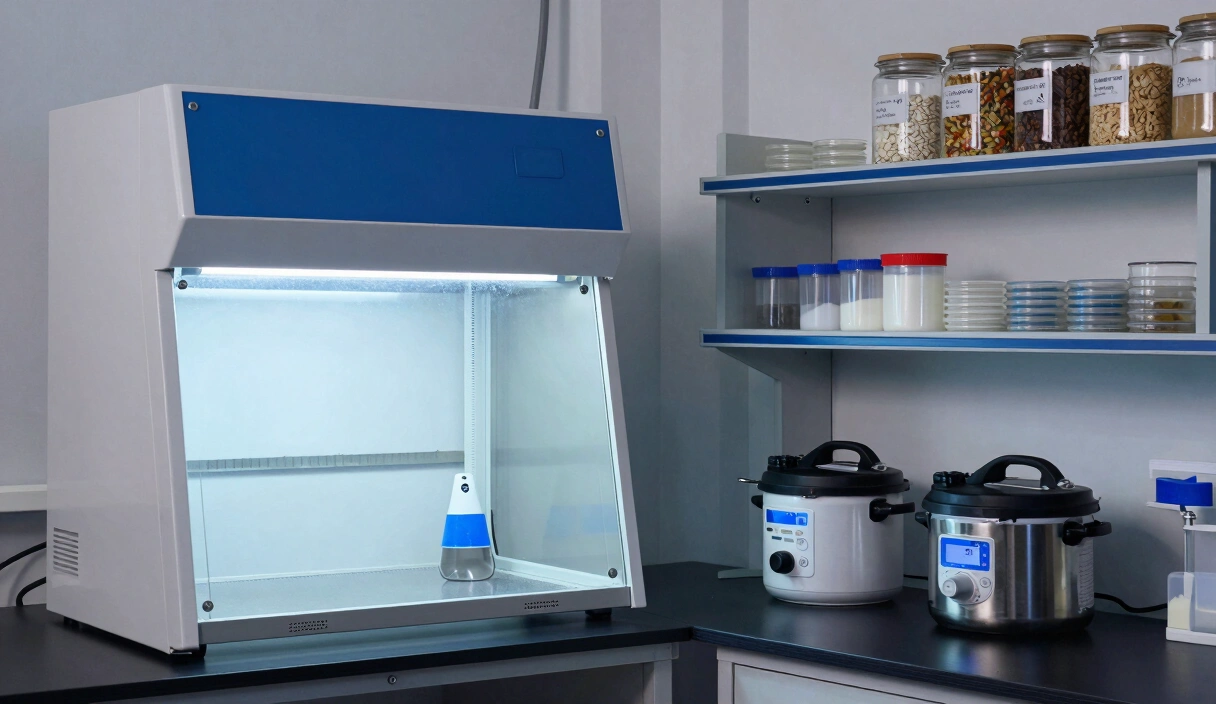
Laboratory Monitoring and Calibration
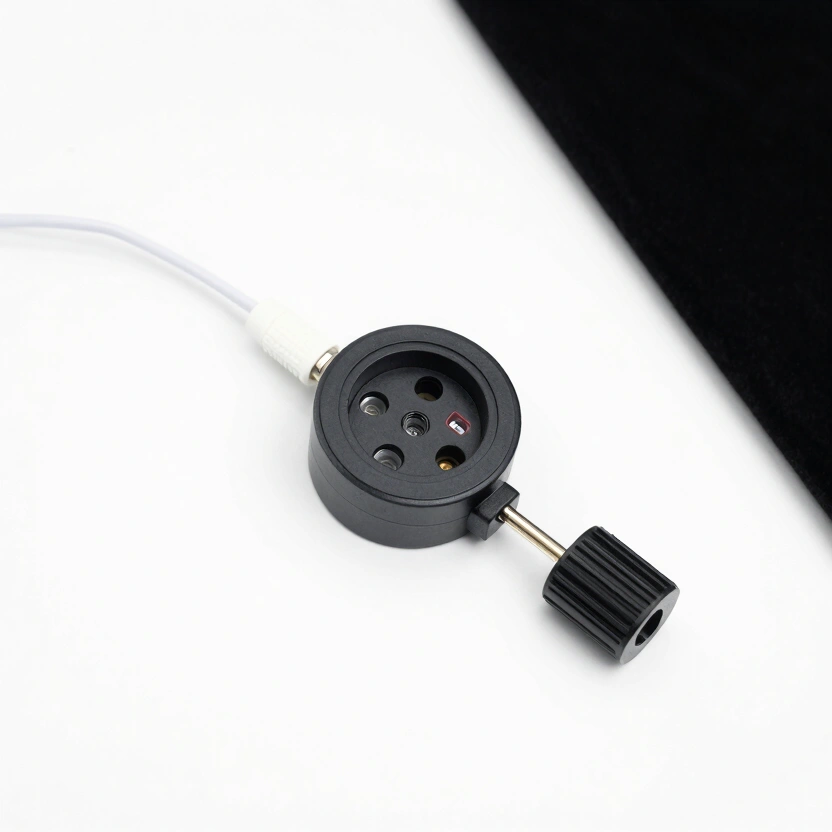
KETOTEK Digital Humidity Regulator Socket
Plug-and-play hygrostat sensor for automated humidity management.
Check Price on Amazon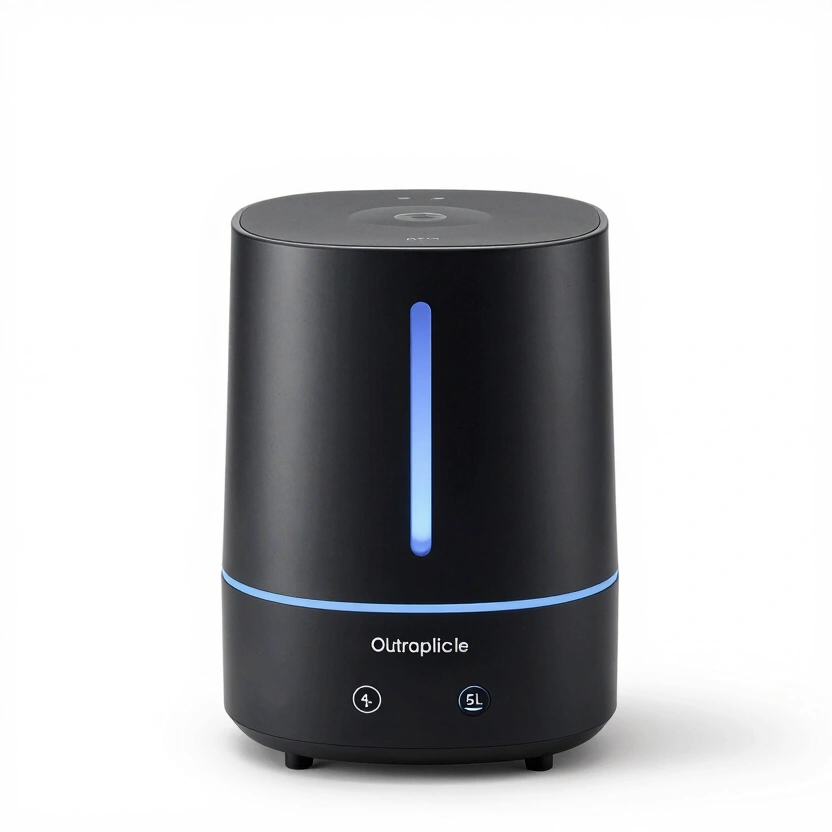
Spider Farmer Smart Ultrasonic Humidifier (5L)
Automatic humidifier with built-in hygrometer for precise fruiting chamber control.
Check Price on Amazon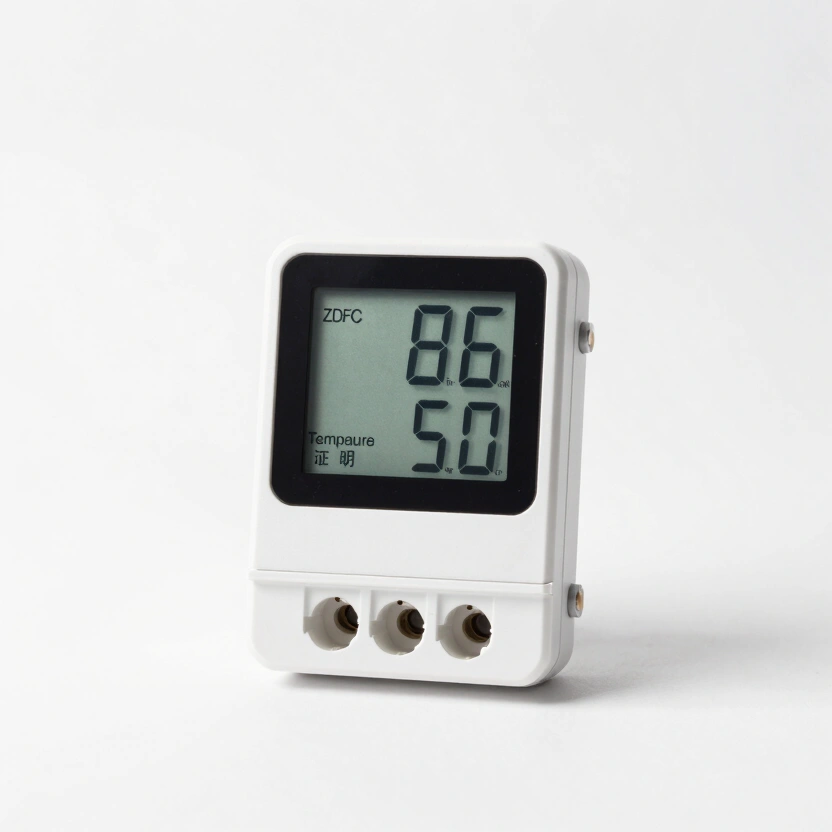
Hygrostat Socket Temperature & Humidity Switch
Integrated controller for monitoring and switching climate gear in grow tents.
Check Price on Amazon* Affiliate links. Prices last updated March 6, 2026.
Construction Protocol: The Sealing Standard
I spent a weekend building my first hood and was convinced I sealed every seam. The smoke test revealed three leaks I could not see with my eyes. One was at a screw hole I forgot to caulk. Unfiltered room air was streaming directly into the “sterile” output.
A flow hood plenum is a high-pressure environment. Any microscopic leak will suck unsterile room air into the sterile stream via the Venturi Effect.
- Material: Use 3/4" Birch Plywood or MDF. Avoid thin materials that flex under pressure.
- The Sealant: Every internal seam must be glued and then sealed with high-grade silicone.
- The HEPA Gasket: Use a closed-cell foam gasket between the filter and the plenum. Tighten the mounting brackets in a “star pattern” (like lug nuts on a car tire) to ensure even compression.
Calibration: The Anemometer and Smoke Tests
Once built, you must verify the engineering.
- The Anemometer Test: Use a digital anemometer to measure the velocity at 9 points across the filter face. Every point should read between 90 and 110 FPM.
- The Smoke Test: Use a “smoke pen” or a stick of incense. Move it in front of the running hood. The smoke should move in a perfectly straight line away from the filter. If the smoke swirls or “curls back” toward the filter, you have turbulence.
Here is a surprise that catches most builders: a brand-new HEPA H14 often needs 30 minutes of run time before it delivers uniform flow. The filter media settles during shipping, and initial readings will look inconsistent until the air pressure normalizes the pleating.
Source a 24x24 HEPA H14 filter, match it to a squirrel cage blower rated for 400 CFM at 1.2" WG, and seal every seam with silicone. Verify with the smoke test and anemometer protocol above, then pour your first 50-plate agar session in under an hour.
Frequently Asked Questions
Can I build a mushroom flow hood with a box fan and furnace filter?
No. Furnace filters, even MERV-13, do not catch 99.99% of spores. Box fans cannot generate the static pressure to push air through a HEPA matrix. The result is turbulent, unsterile breeze that pulls contaminants from your body toward your agar. This setup often causes more contamination than working in open air.
What is the difference between HEPA H13 and H14 for mycology?
H13 catches 99.95% of particles at 0.3 microns. H14 catches 99.995%. That is a 10x reduction in particle bypass. For high-value genetic isolation work, the extra $30-50 for H14 is worth the investment.
How deep should the plenum be on a DIY flow hood?
At least 8 to 10 inches for a 24x24 filter. A shallow plenum creates a hotspot in the center where air blasts through too fast and dead zones at the corners. Install a perforated diffuser plate 3 inches from the blower intake to break the initial air jet and equalize pressure across the entire HEPA surface.
How often do I replace the pre-filter on a laminar flow hood?
Every 3 to 6 months in a home lab. The pre-filter protects the expensive HEPA from large dust. If it looks grey, your blower is working harder than it should, and motor burnout becomes a real risk.
Why is my DIY flow hood blowing over 120 FPM?
Oversized blower. High-velocity air creates turbulent dead zones around your hands and tools. Install a variable speed controller (a router speed controller works) and dial it down until your anemometer reads a steady 100 FPM across all 9 test points.
Related Articles
Laminar Flow Hood vs. Still Air Box: The Technical Lab Physics Guide
Do you actually need a flow hood, or is a Still Air Box enough? A cost-per-plate comparison with contamination rate data from both setups.
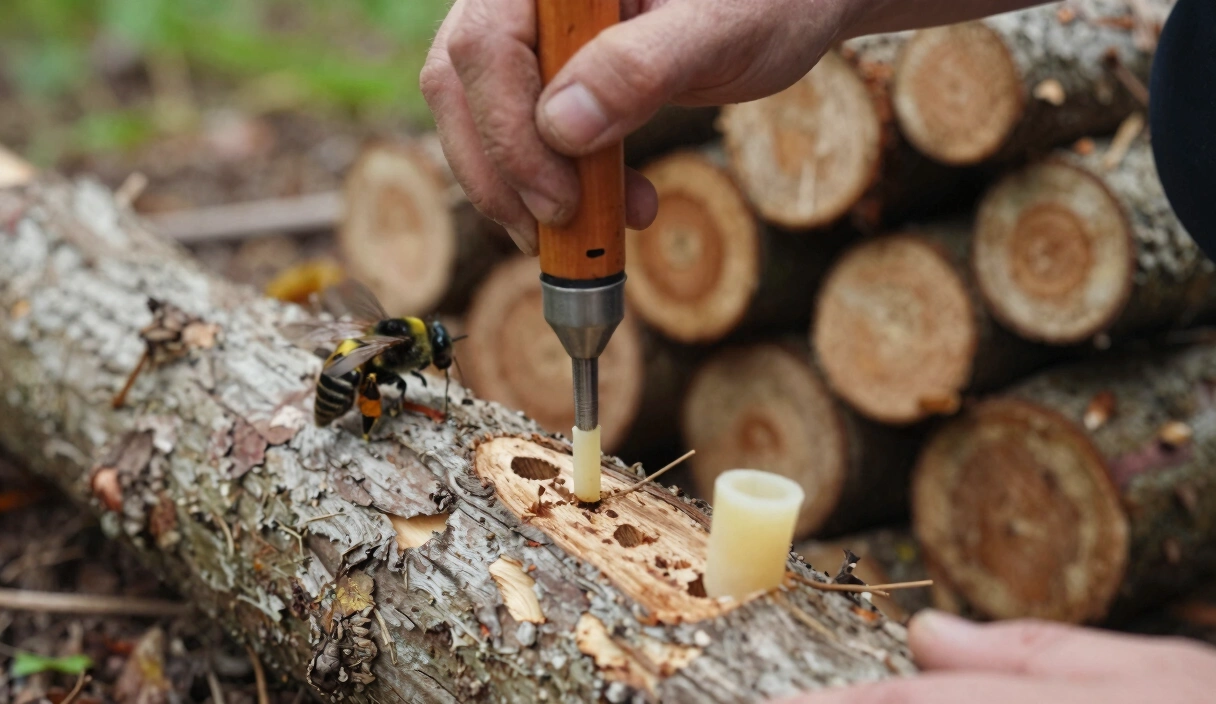
The Log Inoculation Masterclass: Engineering High-Yield Outdoor Mushroom Beds
Drill, plug, wax, wait. The log inoculation method produces shiitake for 4-6 years from a single hardwood log. Moisture, spawn depth, and timing protocols.

Building a Martha Tent: The Professional Guide to Automated Fruiting
How to build a Martha tent fruiting chamber with automated humidity, FAE, and sensor monitoring. Includes parts list and wiring diagram.