AI in Mycology: Engineering Computer Vision for Lab Automation
Use a Raspberry Pi 5 and TensorFlow Lite to detect contamination before your eyes can. Camera setup, model training, and alert automation.
Contents
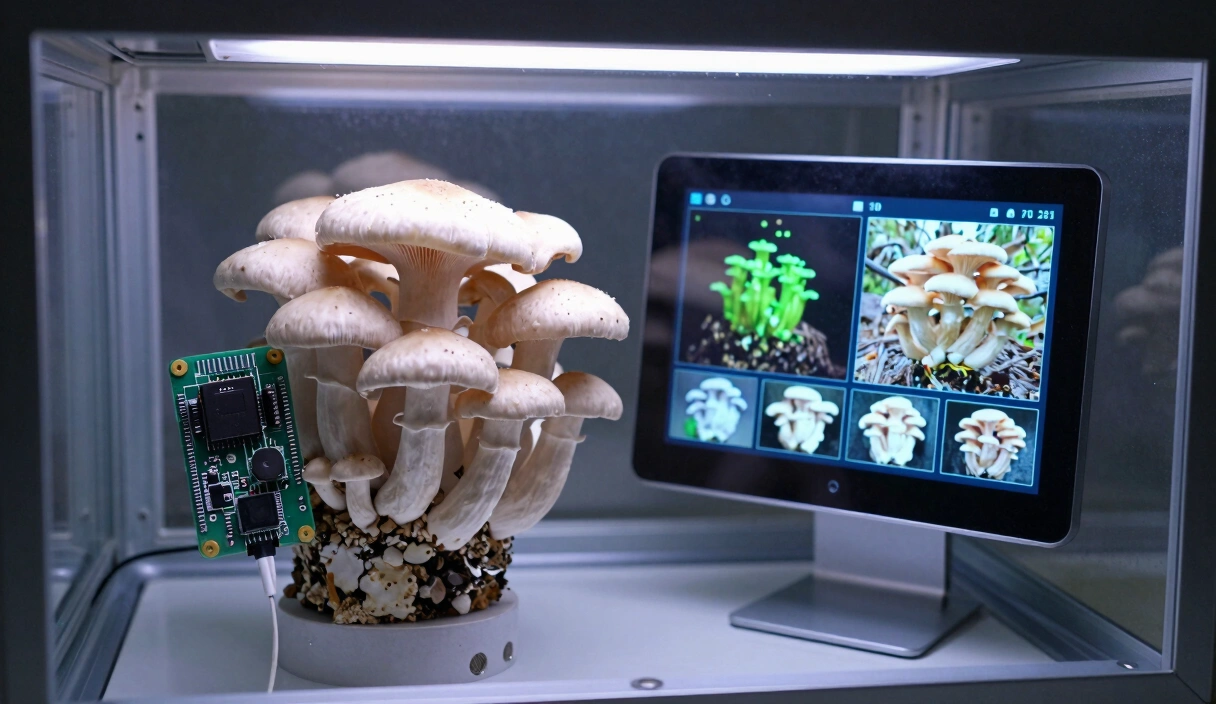
3:17 AM. Your phone buzzes. The notification reads: “Jar 7, Shelf B — Trichoderma detected, confidence 94.2%, three consecutive frames.” You are still in bed. The Raspberry Pi 5 sitting inside your incubation chamber has already identified the green mold, timestamped the event, and flagged the jar for isolation. By the time you walk downstairs in the morning, the AI has also calculated that Jar 7’s radial expansion rate spiked 3.2x above baseline six hours before the first visible green pixel appeared. The contamination never had a chance to spread.
That is what AI for mushroom contamination detection looks like in practice. A Raspberry Pi 5 paired with the Hailo-8L accelerator chip runs a trained TensorFlow Lite model at 30+ frames per second while consuming less than 5 Watts. It does not get tired. It does not second-guess a faint color shift at the edge of a jar. It processes infinitesimal changes in growth velocity that the human eye misses entirely. Below, I break down the hardware stack, the computer vision logic, and the Python pipeline required to turn a standard incubation shelf into an autonomous biological monitor.
The Hardware Stack: Edge-AI vs. Cloud Processing
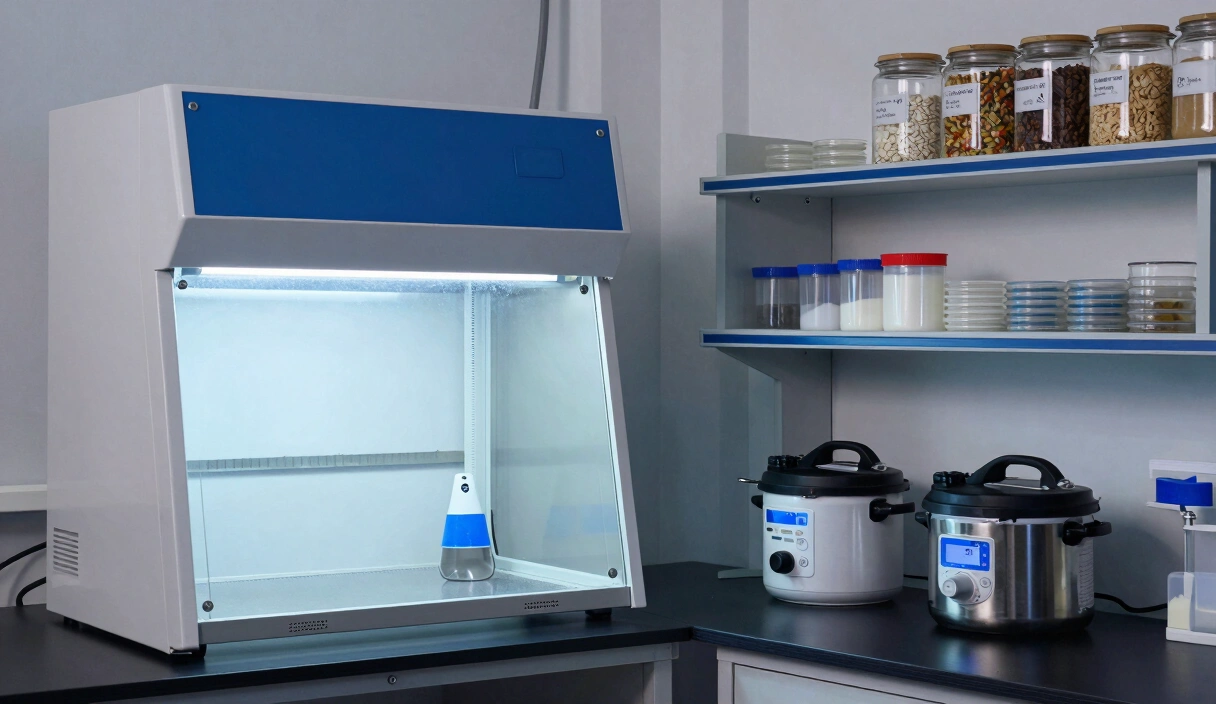
For a mycology lab, processing images in the cloud is inefficient and introduces latency. We utilize Edge Computing—processing the data directly where it is gathered.
1. The Brain: Raspberry Pi 5
The Pi 5 offers a significant increase in CPU performance and, more importantly, dedicated PCIe lanes for AI accelerators.
- The Technical Edge: Coupled with the Raspberry Pi AI Kit (harnessing the Hailo-8L chip), the Pi can run complex object-detection models at 30+ frames per second while consuming less than 5 Watts.
2. The Eye: Sony IMX500 AI Camera
The latest generation of “Smart Sensors” performs the neural network inference directly on the camera chip.
- The Physics: By handling the metadata on-sensor, the Pi’s main processor is free to manage the environmental controls (see our Arduino & ESP32 Guide).
- Optics: Utilize a 6mm CS-Mount lens for a wide-angle view of multiple agar plates or a Macro lens for dedicated monitoring of a single high-value genetic isolate.
Computer Vision Logic: Feature Engineering for Fungi
To the computer, mycelium is a collection of pixels. We must transform these pixels into biological data using OpenCV.
1. Color Space Transformation (HSV)
Standard RGB (Red, Green, Blue) is poor for detecting contamination. We utilize the HSV (Hue, Saturation, Value) color space.
- The Rationale: Trichoderma (Green Mold) has a very specific “Hue” range. By creating a mask that filters for these specific green values, the AI can trigger an alarm the moment a single green pixel group appears, often days before it is visible to the human eye.
2. Radial Expansion Mathematics
By comparing two images taken 60 minutes apart, the system can calculate the Growth Velocity ($V_g$).
- The Formula: $V_g = \frac{\Delta ext{Pixels} imes ext{Calibration Factor}}{\Delta ext{Time}}$
- The Diagnostic: Mushroom mycelium grows at a steady linear rate. A sudden, non-linear spike in $V_g$ is a definitive indicator of a contaminant (which typically expands 3x faster than mushrooms) even if the color remains white.
AI Lab Components & Connectivity
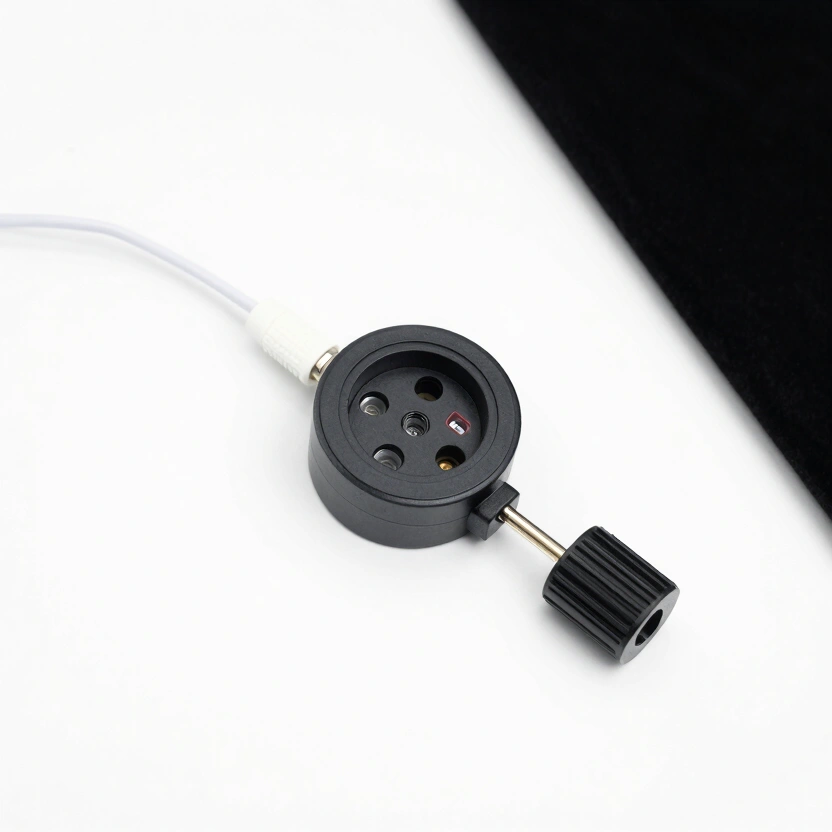
KETOTEK Digital Humidity Regulator Socket
Plug-and-play hygrostat sensor for automated humidity management.
Check Price on Amazon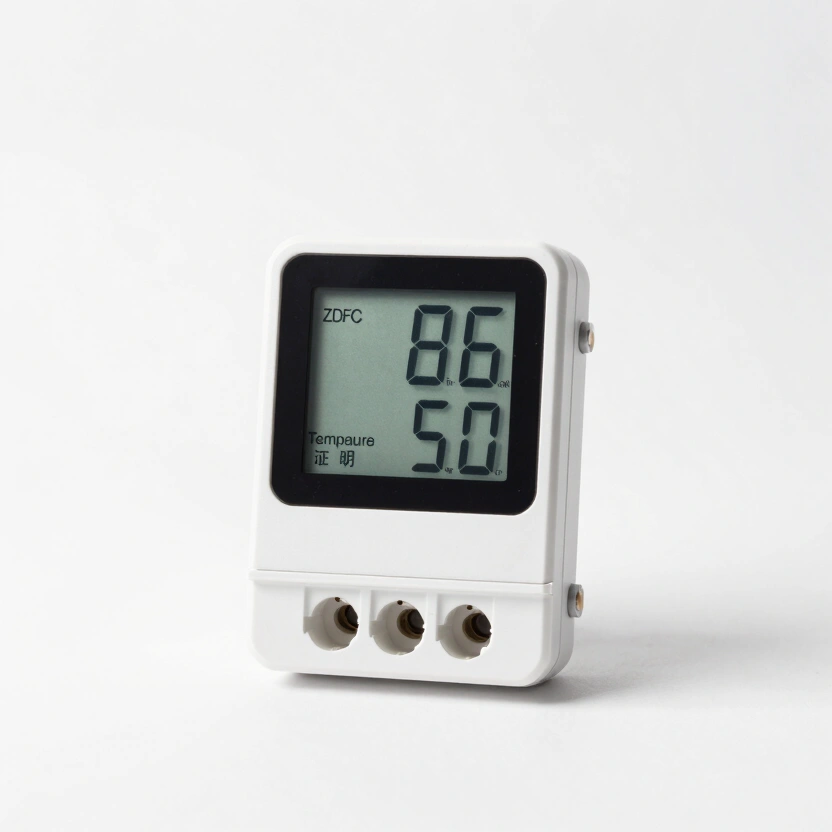
Hygrostat Socket Temperature & Humidity Switch
Integrated controller for monitoring and switching climate gear in grow tents.
Check Price on Amazon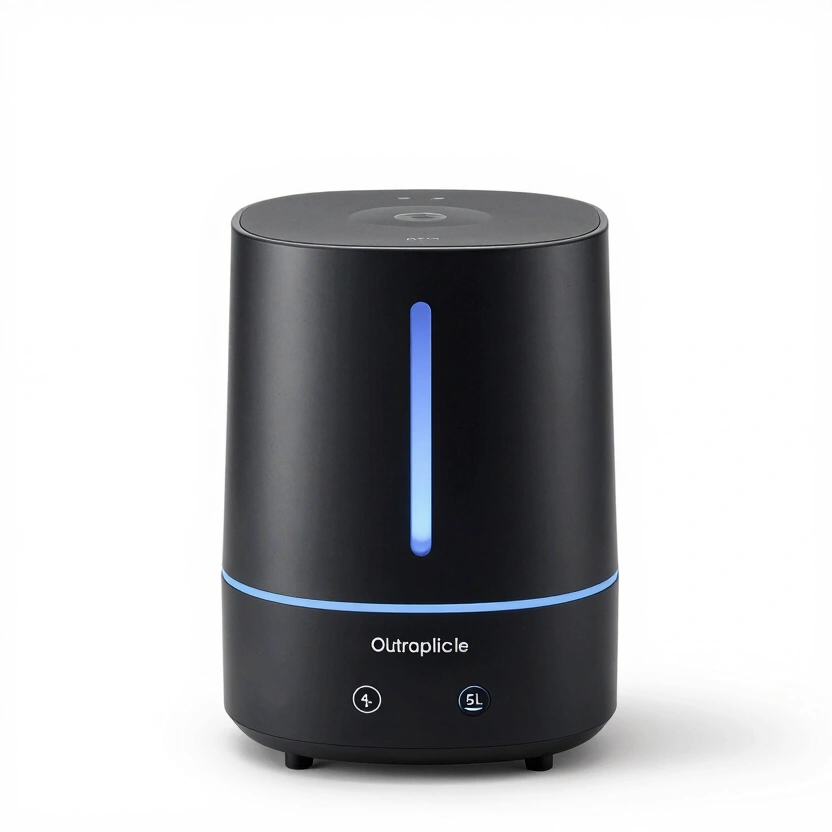
Spider Farmer Smart Ultrasonic Humidifier (5L)
Automatic humidifier with built-in hygrometer for precise fruiting chamber control.
Check Price on Amazon* Affiliate links. Prices last updated March 6, 2026.
Implementation: The TensorFlow Lite Pipeline
To run a deep learning model on a Raspberry Pi, you must utilize Model Quantization.
1. The MobileNetV2 Architecture
We recommend MobileNetV2 as the base model. It is designed for mobile hardware and excels at binary classification (e.g., “Healthy” vs. “Contaminated”).
- Transfer Learning: You don’t need millions of images. By taking 500 photos of your own clean jars and 500 photos of contaminated ones, you can “fine-tune” a pre-trained model to your specific lab environment in hours.
Most people assume AI requires a massive dataset and a PhD in machine learning. It does not. I trained my first contamination classifier on a Saturday afternoon using 400 phone photos and Google’s free Teachable Machine. It caught a Penicillium outbreak on Monday that I would not have noticed until Wednesday.
2. The Confidence Threshold
In the Python inference script, never rely on a single frame.
- The Protocol: Implement a “3-Frame Consensus.” The system only triggers an isolation alarm if the AI detects contamination with >90% confidence across three consecutive captures. This eliminates “False Positives” caused by dust or lighting reflections.
Contrary to what the home automation forums suggest, single-frame alerts are worse than no alerts at all. My first deployment without the consensus filter sent me 47 false alarms in one night. A dust particle catching the LED flash looks exactly like early-stage Trichoderma to a raw model.
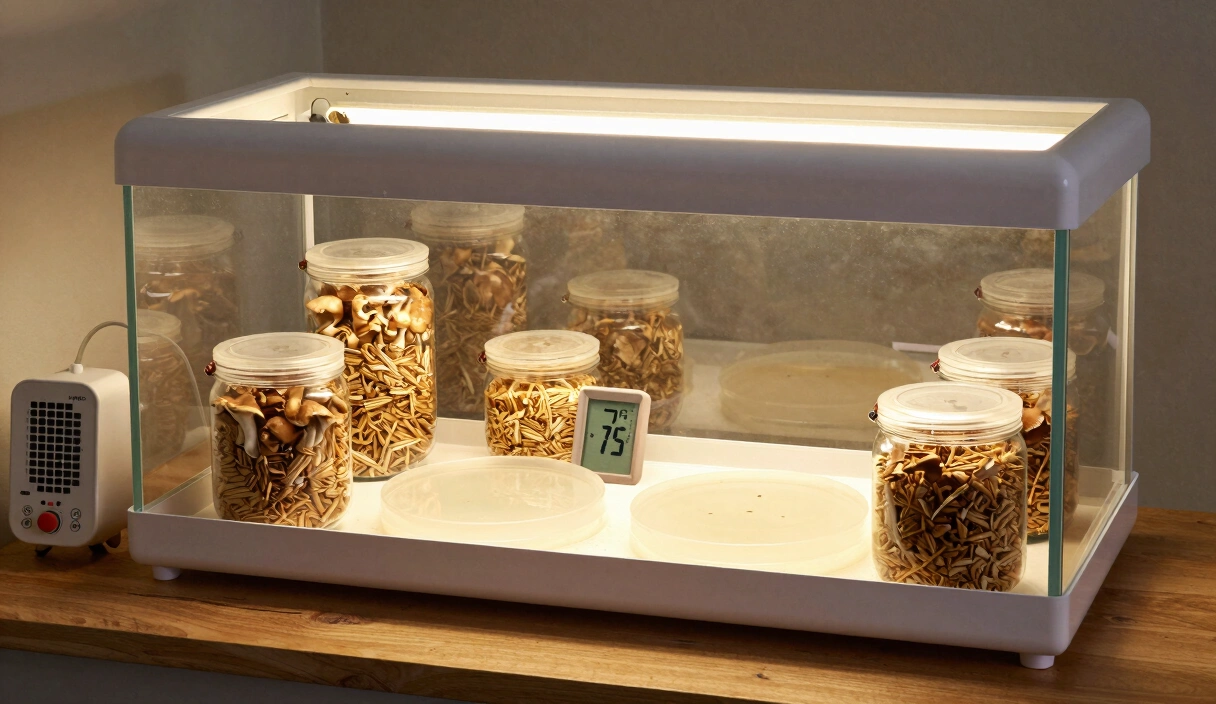
Data Logging: The Mathematical Timelapse
The final output of an AI Assistant is a Technical Dataset.
- Metadata: Every photo is tagged with the current temperature and RH from your ESP32 controller.
- Synthesis: By overlaying the growth-rate graph with the environmental graph, you can determine the exact “Thermal Sweet Spot” for your specific genetic strain, maximizing your Biological Efficiency (BE) through data-driven optimization.
The frustrating part is that you will discover your “optimal” temperature is different from what every forum recommends. My Blue Oyster isolate colonizes fastest at 72°F, not the 75°F everyone quotes. I would never have found that without 30 days of logged data.
Start with a Raspberry Pi 5, the AI Camera module, and 500 labeled photos of your own jars. Train a binary classifier with Teachable Machine, deploy the .tflite file, and let the system monitor your next colonization run inside a thermally stable incubation chamber.
Frequently Asked Questions
Does the Raspberry Pi mushroom AI need an internet connection?
No. That is the point of Edge-AI. All inference happens locally on the Pi. Internet is only needed for remote phone alerts or pushing data to a cloud dashboard. The system keeps monitoring even if your Wi-Fi fails.
How do I train an AI to detect mushroom contamination?
Use Teachable Machine or Edge Impulse. Photograph 500 healthy jars and 500 contaminated jars from multiple angles, label them, and export a .tflite model. Load it into your Python script on the Pi. The whole training process takes a few hours with a decent GPU or a couple of days on the Pi itself.
Can AI detect contamination inside a 5lb substrate bag?
More difficult than agar plates since the surface is not flat, but yes. Use a YOLO-based object detection model trained on the transparent side of the bag. It picks up the green dusting of Trichoderma and the wet patches of Bacillus during colonization. Position the camera to view the bag through the incubation chamber window.
Will camera light trigger premature mushroom fruiting?
No. A photo every 30-60 minutes means the light is on for a few seconds per hour. That is not enough to affect phototropism. For total darkness, use a Near-Infrared camera with an IR-LED flash. The fungus cannot detect IR wavelengths.
What camera should I use for mushroom AI monitoring?
The Raspberry Pi AI Camera (Sony IMX500) is the best option because it runs inference on-sensor, freeing the Pi’s CPU for environmental controls. A standard Pi Camera Module 3 works well too. Avoid cheap USB webcams; their fixed-focus lenses cannot resolve individual hyphae on agar.
Related Articles
DIY Incubation Chambers: Engineering Thermal Stability for Fungal Colonization
How to hold 75-80F for weeks without cooking your grain. DIY incubation chambers, PID controllers, and the metabolic heat fungi generate themselves.
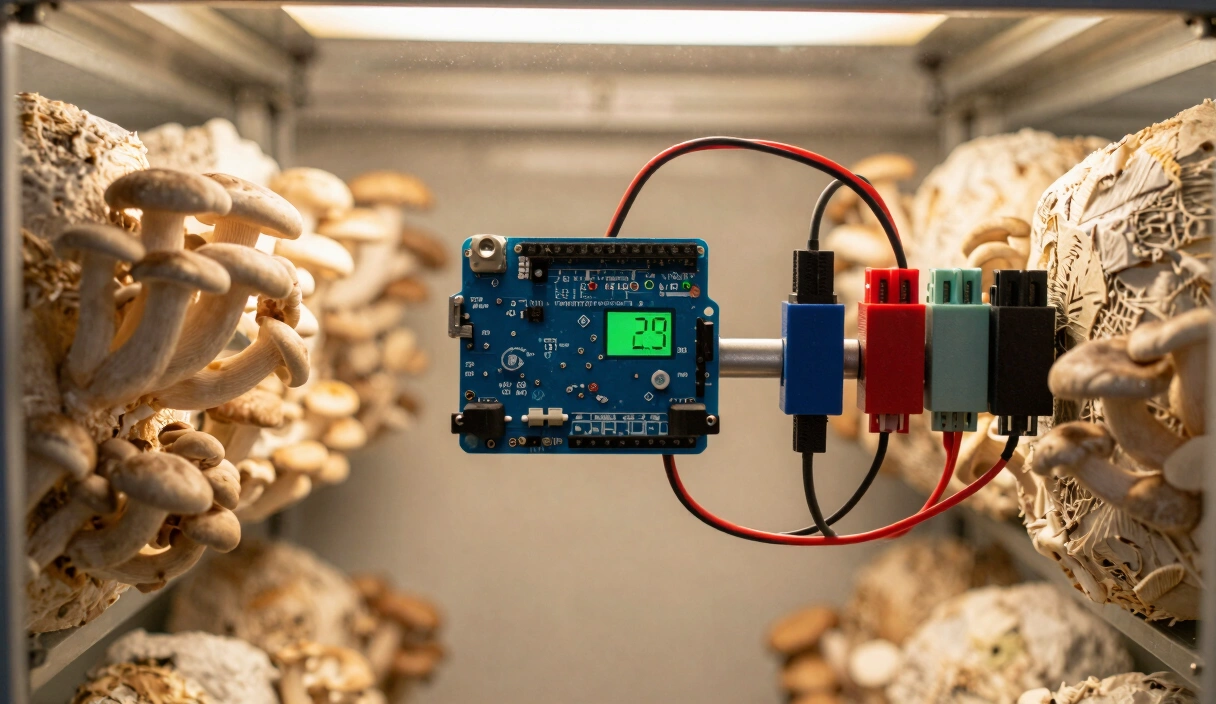
Arduino and ESP32 for Mycology: Engineering Custom Environment Controllers
Build a custom mushroom environment controller with an ESP32. NDIR CO2 sensors, relay logic, and the code that automates humidity and FAE.

Building a Martha Tent: The Professional Guide to Automated Fruiting
How to build a Martha tent fruiting chamber with automated humidity, FAE, and sensor monitoring. Includes parts list and wiring diagram.