The 7 Stages of the Mushroom Lifecycle: A Technical Manual for Cultivators
The 7 stages every mushroom passes through, from spore to senescence. Plasmogamy, dikaryon formation, and the environmental triggers behind each transition.
Contents
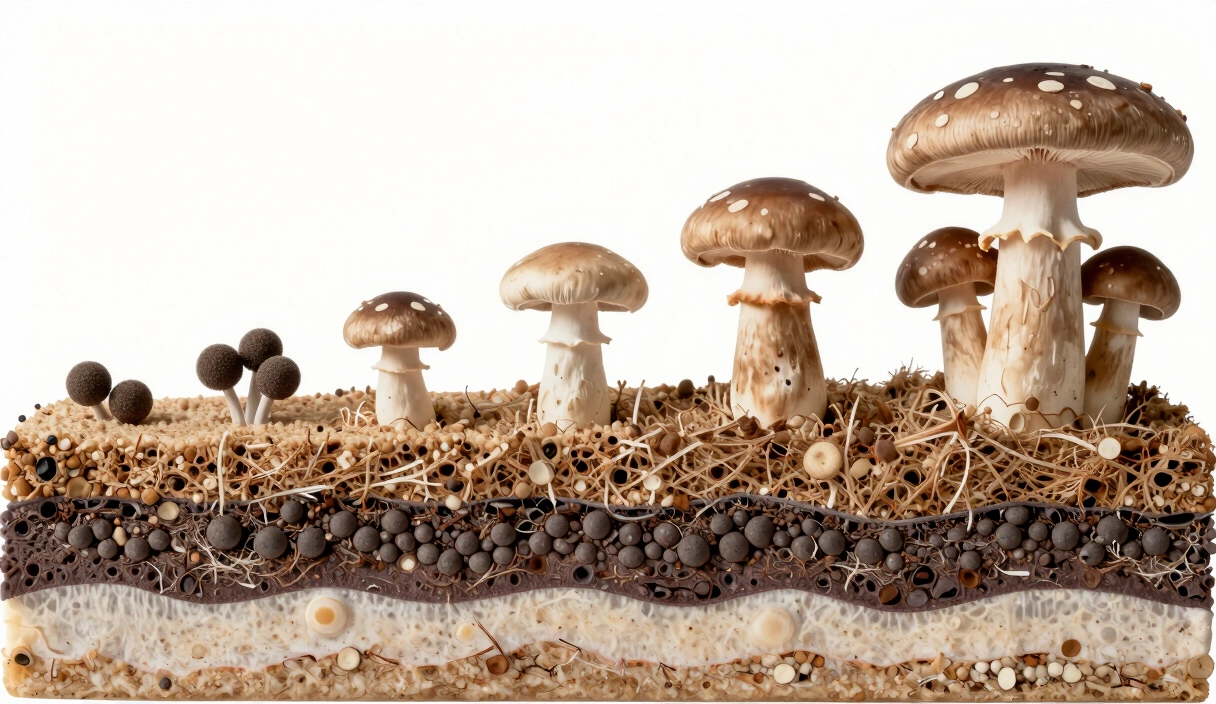
To the casual observer, a mushroom appears overnight like an biological glitch. To the technical cultivator, that fruiting body is the culmination of a highly predictable seven-stage engineering process. Understanding the Mushroom Lifecycle is not about memorizing names; it is about managing the transition between cellular states and controlling the thermodynamic energy released during colonization. Every stage represents a change in the fungal metabolism—shifting from explosive vegetative expansion to high-pressure reproductive formation.
Mastering these transitions requires more than a misting bottle. It requires an understanding of Thermogenesis (metabolic heat production) and the specific cellular cues of Plasmogamy and Karyogamy.
Stage 1: Spore Germination (The Monokaryon Phase)
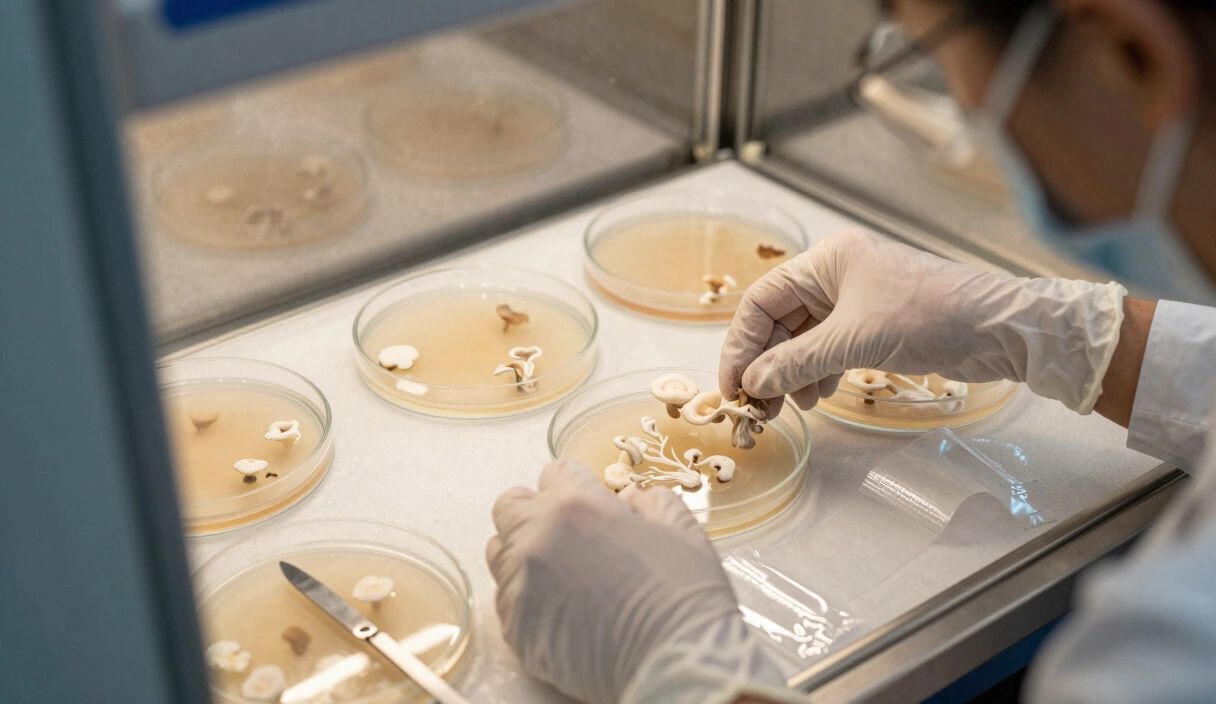
The cycle begins when a microscopic spore lands on a nutrient-rich medium, such as Agar. Upon hydration, the spore germinates, sending out a single fungal thread called a Hypha. At this stage, the fungus is a Monokaryon—it contains only one set of genetic information (haploid).
The Mating Game
Monokaryotic mycelium is incapable of producing mushrooms. It is in a constant search for a compatible mate. When two compatible monokaryons meet, they undergo Plasmogamy—their cells fuse together, but their nuclei remain separate.
Stage 2: Genetic Isolation (The Dikaryon Phase)
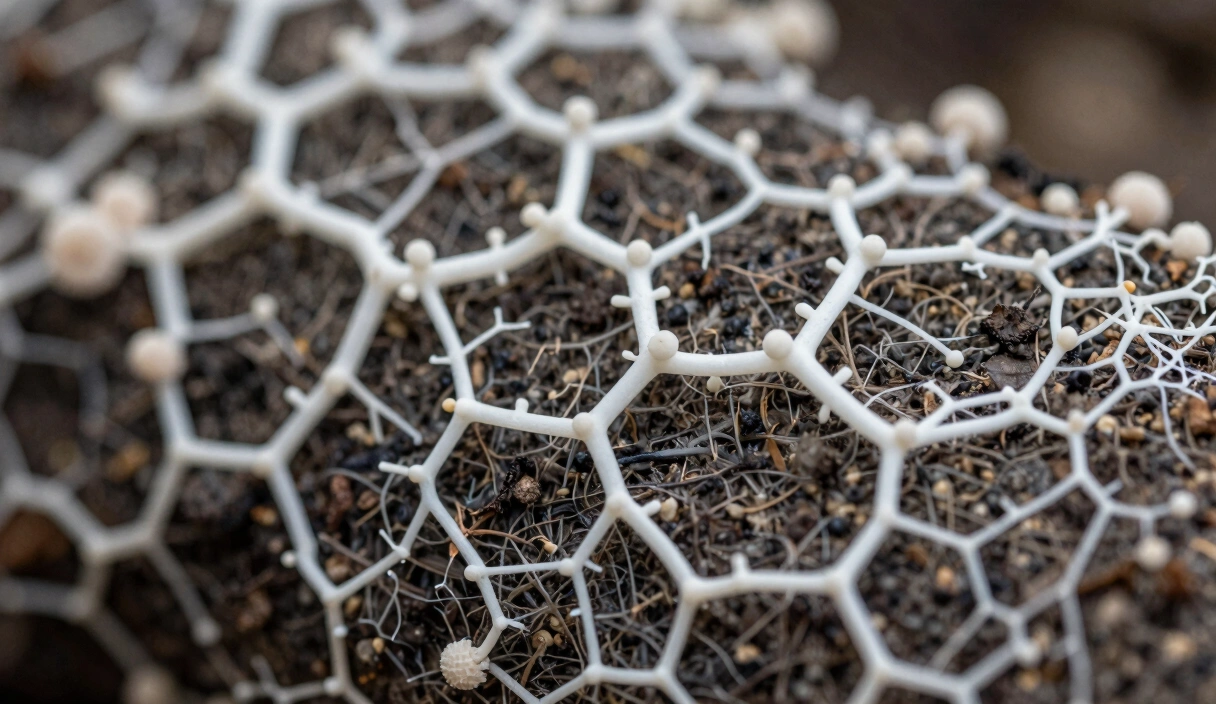
The result of plasmogamy is Secondary Mycelium, or a Dikaryon. This is the productive engine of the fungal organism. It now contains two independent nuclei per cell, carrying the full genetic blueprint required to fruit.
The Technical Edge
As a cultivator, Stage 2 is where you maximize your yield potential. By working in a Still Air Box (SAB), you can isolate specific sectors of dikaryotic mycelium that display the most aggressive growth patterns (Rhizomorphic morphology). This isolation ensures that the energy you put into your substrate isn’t wasted on weak genetics.
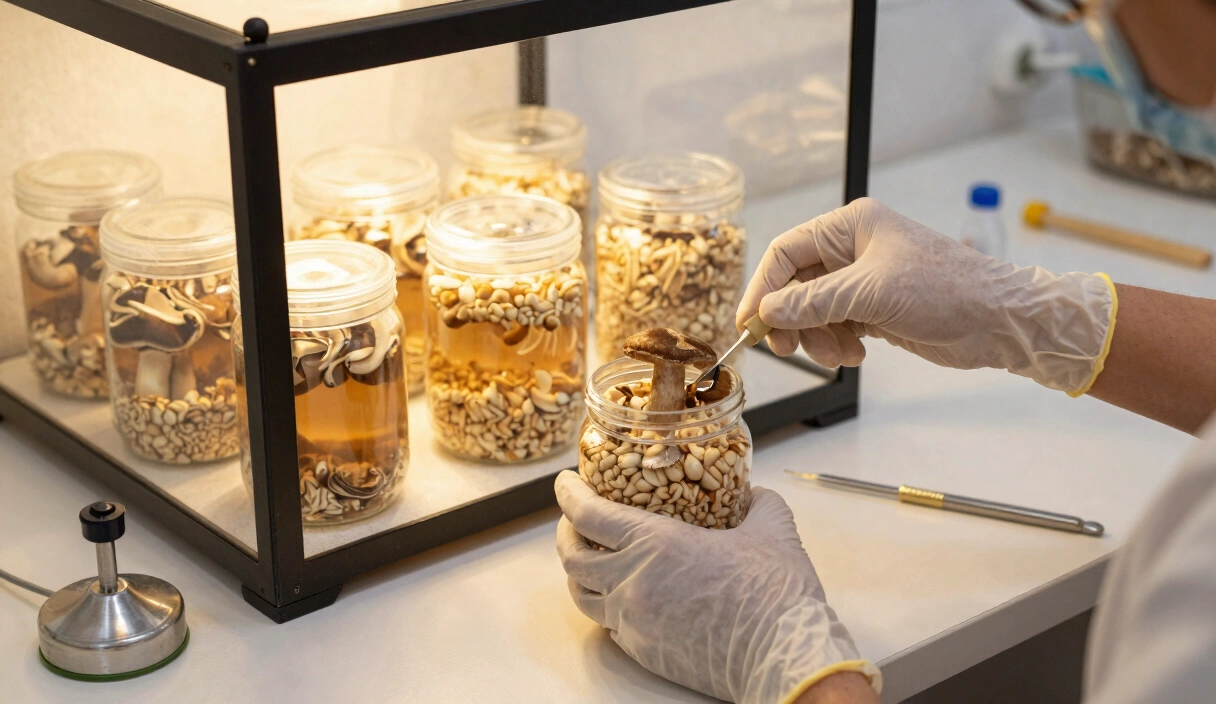
Stage 3: Inoculation (The Leap-Off)
Inoculation is the physical act of introducing your isolated dikaryon (via Liquid Culture or Grain Spawn) into a sterile substrate.
- The Inoculation Point Principle: Small grains like Millet provide 10x more inoculation points than corn. Most growers assume bigger grains mean more nutrition per kernel, but the math works the other way—density of contact points matters more than individual kernel size. This reduces the distance the hyphae must travel to meet and merge, accelerating the “Leap-off” time.
- The Critical Window: Leap-off should occur within 48–72 hours. If colonization hasn’t started by day 4, the competitive advantage shifts toward latent bacteria or molds.
Professional Inoculation Tools
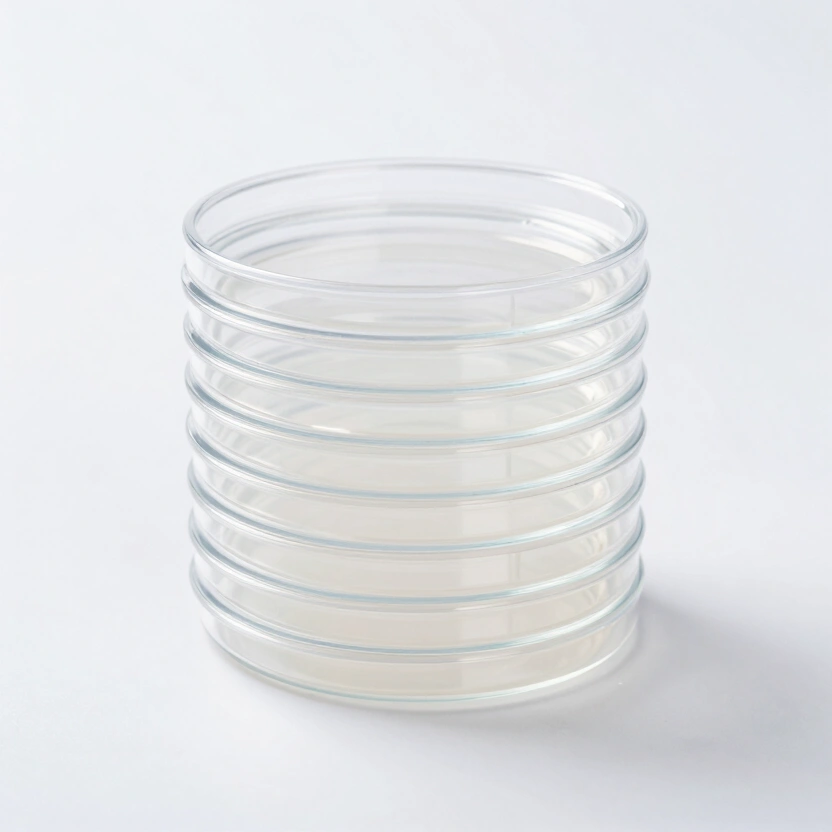
Mushroom Agar According to Kimmig (Pack of 20)
Pre-poured sterile agar plates optimized for fungal mycelium growth.
Check Price on Amazon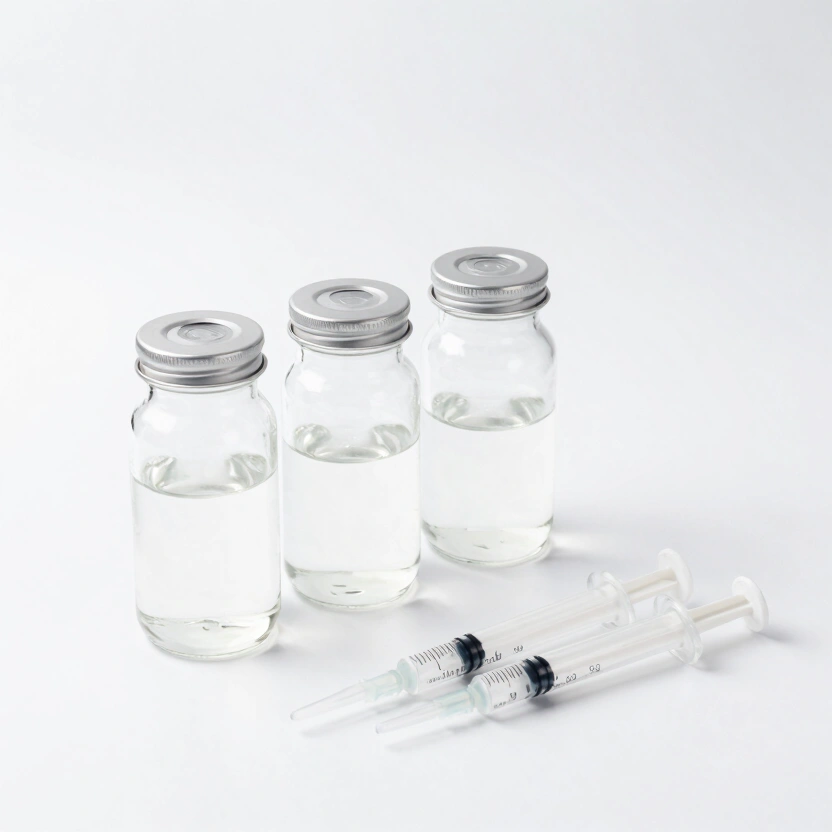
Lion's Mane Mushroom Liquid Culture Making Kit
Professional kit for expanding and storing mushroom liquid cultures.
Check Price on Amazon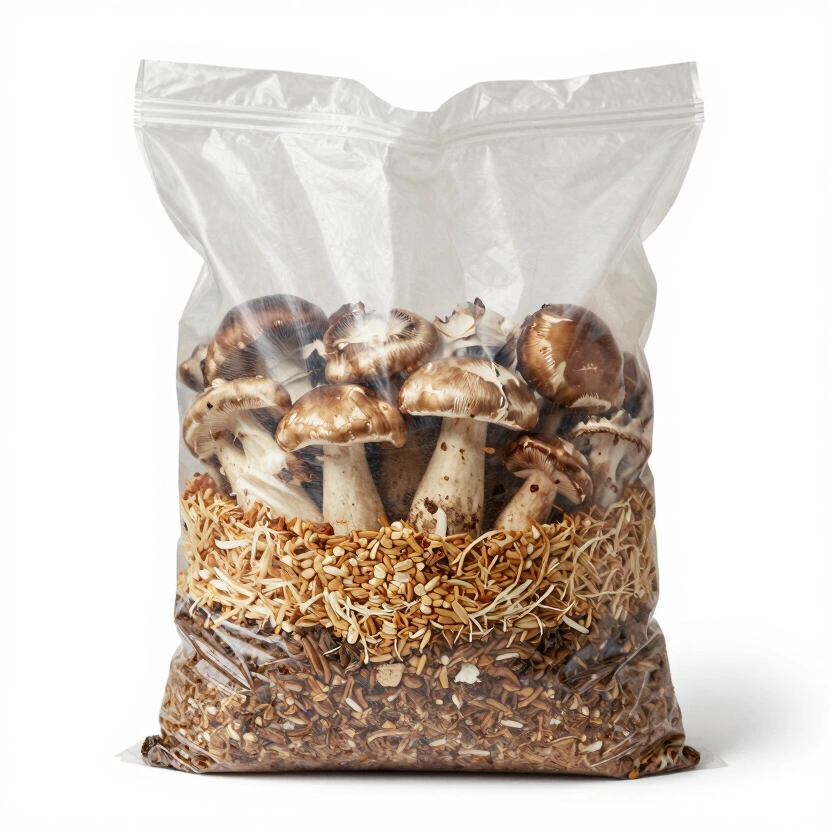
Superior Dung-Loving Mushroom Substrate & Milo Grain 6lb All-in-One Bag
Pre-sterilized all-in-one grow bag with coir, vermiculite, and gypsum formula.
Check Price on Amazon* Affiliate links. Prices last updated March 6, 2026.
Stage 4: Incubation & The Physics of Thermogenesis
During incubation, the mycelium consumes the bulk substrate. This is a vegetative growth phase characterized by intense metabolic activity.
The Thermodynamics of Mycelium
Fungi are heterotrophs; as they break down cellulose and lignin, they release energy as heat.
- The Metric: Active colonization produces between 0.5 and 2.5 Watts of heat per kilogram of substrate.
- The Temperature Delta: In a large 10lb bag of Masters Mix, the core temperature can be 5°F to 10°F (2°C-5°C) higher than the ambient room air.
- The Danger Zone: If the core temperature exceeds 86°F (30°C), the mycelium will heat-stress and eventually die, leaving the substrate open to thermophilic contaminants. Contrary to what most forums suggest, thermogenesis is not a minor variable you can ignore—it is the primary reason “room temperature” incubation kills more blocks than contamination does. Always set your incubation room 5°F lower than your target internal temperature.
Stage 5: Initiation (The Pinning Trigger)
Once the substrate is 100% colonized, the dikaryon reaches a “Biological Ceiling.” It has exhausted the available space and must now reproduce to survive. This is triggered by three environmental signals:
- CO2 Drop: Evacuating CO2 to below 800 ppm via Fresh Air Exchange (FAE).
- Surface Evaporation: High humidity (90%+) combined with slight airflow.
- Light (Phototropism): A signal that the fungus has reached the surface of the wood or soil.
At this stage, you will see Hyphal Knots—tiny white dots where mycelium has clumped together. These develop into Primordia, the miniature precursors to mushrooms.
Stage 6: Fruiting (Karyogamy & Expansion)
This is the most visually spectacular phase. The primordia rapidly expand through cellular elongation, not just cell division.
The Karyogamy Event
Inside the gills or pores of the developing mushroom, the two nuclei in the dikaryon finally fuse into a single nucleus. This is Karyogamy. It is immediately followed by meiosis, creating four new haploid spores, thus completing the genetic circle.

Stage 7: Harvest & Sporulation
The final stage is the release of offspring. For the cultivator, timing the harvest is critical to maintaining the quality of the grow room.
- The Harvest Window: For Oysters and Lion’s Mane, harvest just before the cap margin flattens or the “teeth” cascade fully.
- Sporulation Risk: If allowed to fully sporulate, a single Monotub can release billions of spores, which can clog air filters and trigger respiratory issues for the grower. The widespread belief that “a few extra hours won’t matter” is flatly wrong for Oyster mushrooms—their spore load doubles roughly every 6 hours past the optimal harvest window.
Identify which lifecycle stage your current grow is in right now, check whether your environmental parameters match that stage’s requirements, and adjust your CO2, temperature, or humidity before your next substrate preparation run.
Frequently Asked Questions
Can I skip the agar stage and go straight to grain with a spore syringe?
You can, but your failure rate will spike. A multispore syringe introduces dozens of competing genetic pairings into the same jar—slow colonization, patchy fruiting, and inconsistent yields are the predictable result. Working on agar lets you isolate a single aggressive dikaryon before committing grain and substrate to the grow. The extra week on agar saves you three weeks of wondering why your tub looks uneven.
Why do my mushrooms grow long stems and tiny caps?
Classic high CO2 during Stage 6. The mushroom is stretching toward the nearest oxygen source because your Fresh Air Exchange (FAE) is insufficient. Increase ventilation, fan more frequently, or widen your monotub polyfill holes. Healthy Oyster clusters should have caps that are wider than the stems are long.
What is the ideal incubation temperature for gourmet mushrooms?
For Oyster and Lion’s Mane, set your incubation room to 72-75F (22-24C). But remember thermogenesis: a 10lb Masters Mix bag generates 0.5 to 2.5 watts of metabolic heat, pushing core temps 5-10F above ambient. Keep the room in the low 70s so the block core stays safely below the 80F stress threshold.
How do I know when my substrate is fully colonized and ready to fruit?
The surface should be uniformly white with no visible uncolonized patches. Check the bottom and sides of the container—if you see bare substrate, give it more time. For bags, squeeze gently; a fully colonized block feels firm and springy. Once you see 100% coverage, introduce fruiting conditions within 48 hours to prevent the mycelium from stalling at the biological ceiling.
What causes mushroom “aborts” during the pinning stage?
Aborts—pins that turn dark and stop growing—are almost always caused by a sudden humidity drop below 85% RH during Stage 5. A single 4-hour window of dry air can kill an entire pin set. If you see black pins, check your humidifier output, verify your hygrometer calibration, and ensure your FAE adjustments have not accidentally dried out the fruiting chamber.
Related Articles
The Biology of Fungi: From Spore to Biological Efficiency
From spore germination to fruiting body — the complete biology of how mushrooms grow. Enzymatic lignin breakdown, BE calculations, and fruiting triggers.
Top Mushroom Cultivation Techniques: A Technical Efficiency Comparison
Monotub, Bucket Tek, or PF Tek? A side-by-side comparison using Biological Efficiency and yield per square foot to find the best method for your space.
Mushroom Agar Work: The Complete Guide to Isolating, Storing, and Expanding Cultures
Master the "black belt" of mycology. From Fanny Hesse’s kitchen discovery to advanced genetic sectoring, we explore the physics, chemistry, and real-world hacks of agar work.