
Oats vs. Rye vs. Millet: The Technical Guide to Mushroom Grain Spawn
Oats, rye, or millet? Each grain has different starch exposure, inoculation points, and colonization speed. Here's which one to use and why.
Contents
You unscrew the lid of a quart jar and the smell hits you first—clean forest air with a faint note of fresh bread. Inside, every grain kernel is wrapped in a dense white web of mycelium, each one a separate colony radiating outward until they merged into a solid network. No wet spots, no bare patches, no sour odor. That is what a perfectly colonized jar of the best grain for mushroom spawn looks like, and the difference between this result and the slimy bacterial mess in the jar next to it comes down to grain selection and hydration physics.
Grain spawn is the biological vehicle that carries your fungal dikaryon from the sterile laboratory into bulk cultivation. Choosing the right grain is not about cost or tradition. It is a decision based on Inoculation Point Physics, hydration predictability, and the mitigation of bacterial endospores like Bacillus subtilis.
Your goal: 100% colonization in the shortest possible window. Every hour that grain remains uncolonized is an hour that competing organisms have to exploit the nutrient-rich endosperm.
The Anatomy of a Seed: Why Integrity Matters
To understand grain spawn, you must understand the seed’s defense mechanism. A grain kernel consists of a protective outer layer (the bran or hull) and a nutrient-rich core (the endosperm, primarily starch).
The Danger of Starch Exposure
When a grain kernel “bursts” during the hydration or sterilization process, it exposes the internal starch.
- Bacterial Fuel: While mushroom mycelium requires time to secrete enzymes to break down complex carbohydrates, bacteria like Bacillus can metabolize simple starches almost instantly.
- The Biofilm Shield: Recent research indicates that Bacillus subtilis uses released starch fibers as a structural scaffold to build Biofilms. These biofilms act as a heat-shield, allowing bacteria to survive sterilization cycles that would otherwise kill them.
- Anaerobic Bridges: Free starch creates a sticky, muddy texture. This causes the grains to clump together, eliminating the air gaps required for gas exchange and creating anaerobic pockets where rot-inducing bacteria thrive.
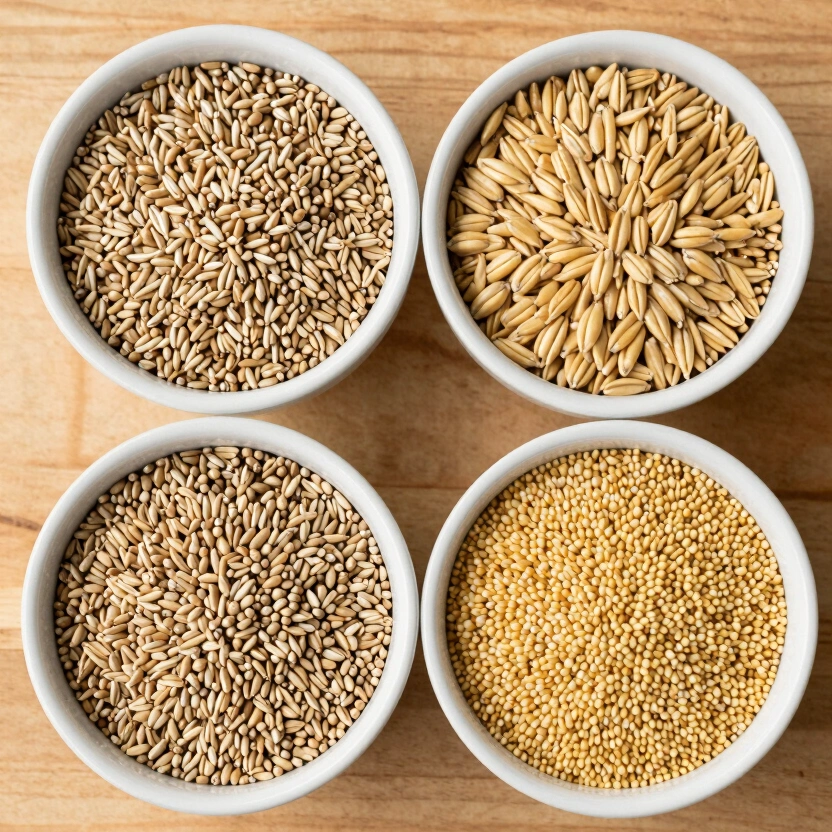
Top 4 Grains for Mycology: A Technical Comparison
1. Rye Berries: The Professional Standard
Rye has been the favorite of mycologists for decades due to its high nutrient density and ability to hold a massive volume of water without losing structural integrity.
- Pros: Excellent for grain-to-grain (G2G) transfers; high concentration of nitrogen and micronutrients.
- Cons: Higher cost per pound; requires a meticulous 12–24 hour soak to hydrate the core.
2. Millet: Maximum Inoculation Point Density
Millet is rapidly becoming the favorite for commercial growers using Spawn-to-Bulk (S2B) methods.
- The Math: A single kilogram of rye contains roughly 3,000 kernels. A kilogram of millet contains over 8,000 kernels. Most mycology forums will tell you rye is “the best grain, period.” That advice ignores the single most important variable in spawn-to-bulk transfers: contact point density.
- The Technical Rationale: When you mix millet into your bulk substrate, you are creating nearly 3x as many “jump-off points” for the mycelium. This reduces the distance the hyphae must travel to meet another colony, leading to a 30-40% faster colonization time compared to larger grains.
3. Whole Oats: The Bulk Producer’s Champion
Purchased from agricultural feed stores as “Race Horse Oats,” this is the most cost-effective path for large-scale operations.
- The Protection: Oats have a very thick, fibrous hull that is extremely resistant to bursting. Contrary to the popular advice that beginners should start with rye, oats are actually the more forgiving choice—their hull survives the overcooking mistakes that new growers inevitably make. This makes them the most tolerant grain for beginners who tend to over-boil their spawn.
- Pros: Dirt cheap ($15-$25 per 50lb bag); very fast preparation using the “No-Soak” simmering method.
Professional Grain & Substrate Essentials
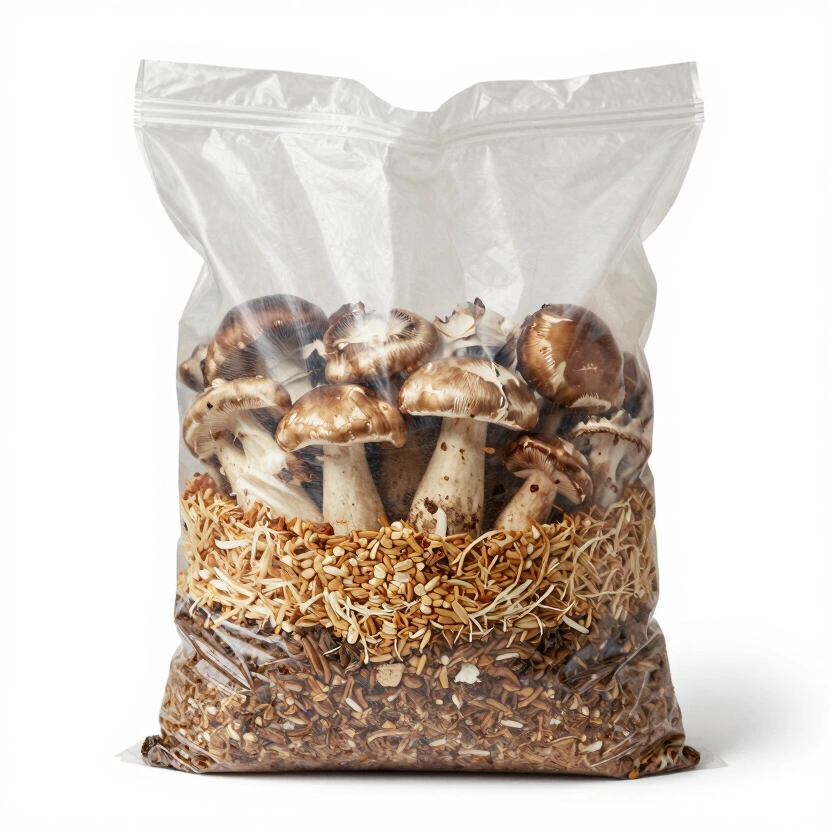
Superior Dung-Loving Mushroom Substrate & Milo Grain 6lb All-in-One Bag
Pre-sterilized all-in-one grow bag with coir, vermiculite, and gypsum formula.
Check Price on Amazon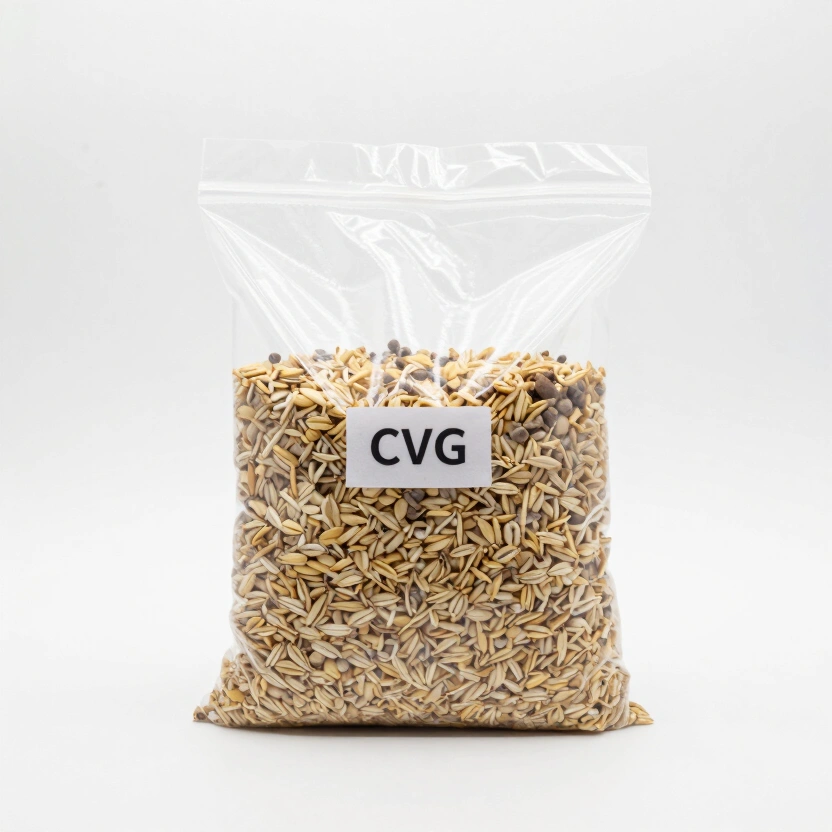
Sterilized CVG Substrate & Grain Combo Bag
All-in-one sterilized solution for effortless mushroom growing.
Check Price on Amazon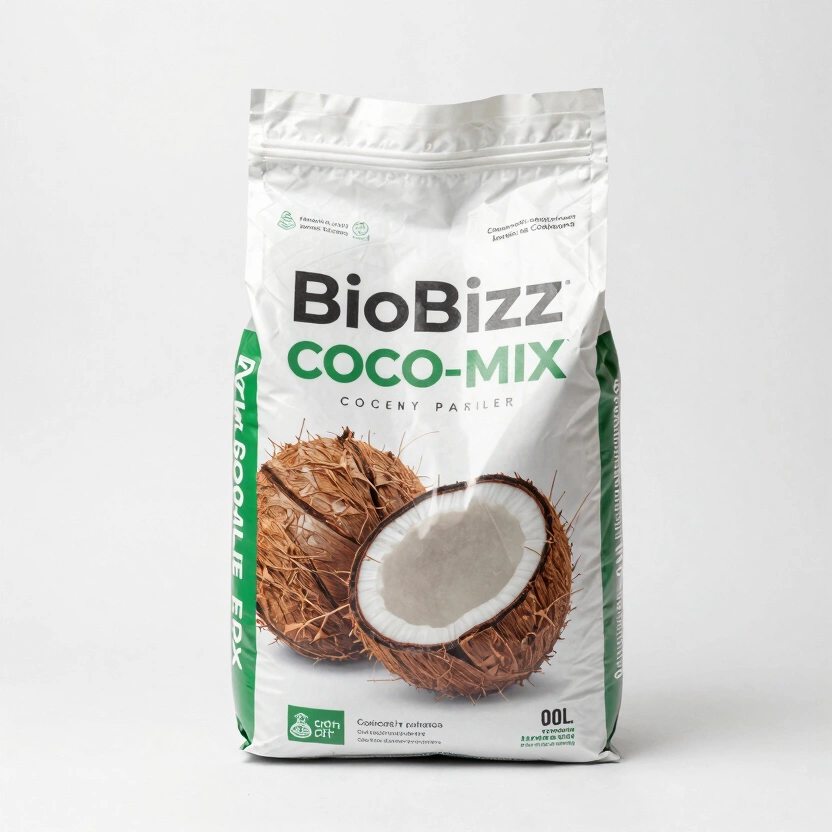
BioBizz Coco-Mix Pure Coconut Fibre Substrate (100 Liters)
High-quality coconut fibre substrate, perfect for building a moisture-retentive CVG mix.
Check Price on Amazon* Affiliate links. Prices last updated March 6, 2026.
4. Popcorn: The Home-Lab Shortcut
While widely used in the hobbyist community, popcorn is technically the least efficient grain.
- The Surface Area Problem: Because the kernels are so large, you have very few inoculation points per quart. This leads to slower colonization and a higher risk of “stalling” if your environment isn’t perfect.
- Advanced Hack: Growers often use “Drippy Corn”—hydrated popcorn with added Light Malt Extract (LME)—to simulate the nutrient profile of rye while keeping the ease of prep.
The Physics of Hydration: Core vs. Surface
The #1 cause of grain spawn failure is not “bad spores,” but Excess Surface Moisture.
The Rule of the Paper Towel
The inside of your grain must be fully hydrated (the core should be gelatinized and soft), but the outside must be bone dry to the touch.
- Why? Wet surfaces create a liquid bridge between kernels. This bridge acts as a highway for bacteria. The conventional wisdom that “wetter grain colonizes faster” gets repeated on Reddit constantly—it is wrong, and it is the single biggest reason beginners lose jars to Wet Spot. If your grains are “glistening” when they go into the pressure cooker, you are inviting bacterial “Wet Spot” or “Sour Rot.”
- The Fix: After simmering, always spread your grains out on a large screen or tray until a paper towel pressed against them comes back completely dry.
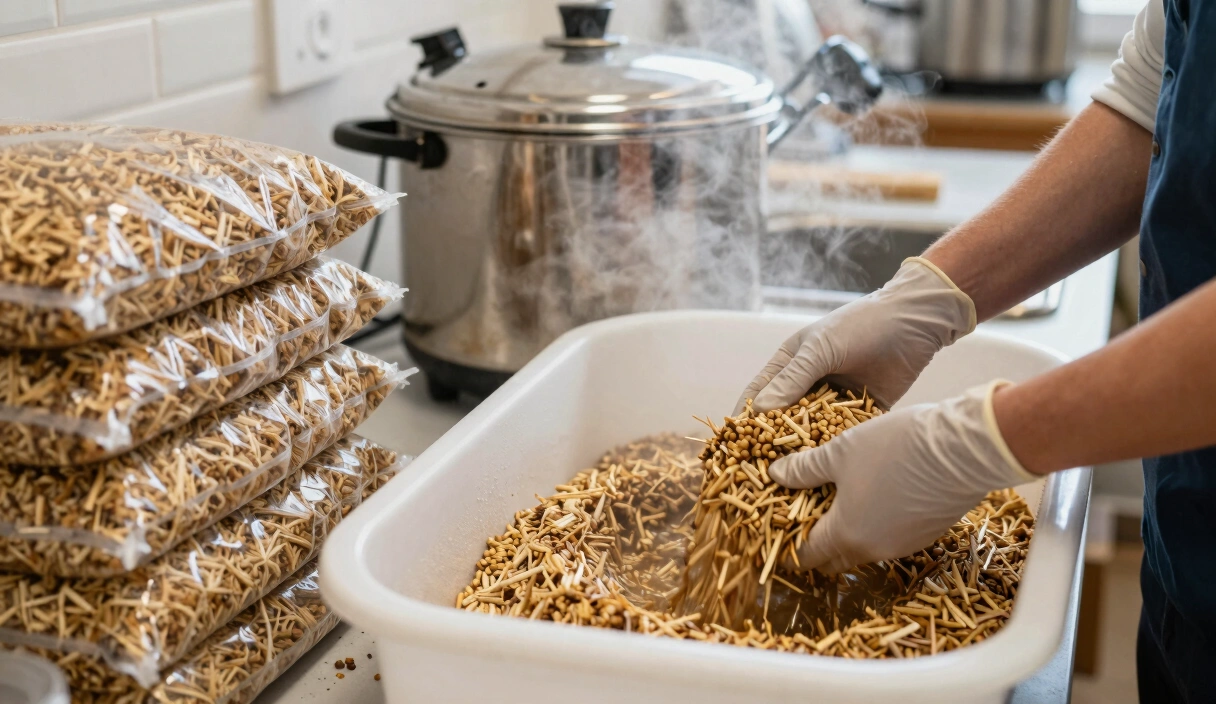
Preparation Protocols: Soak vs. No-Soak
The 24-Hour Soak (Standard)
By soaking grains for 24 hours before boiling, you “wake up” the heat-resistant endospores of Bacillus. Once these spores germinate into their vegetative state, they are easily killed by the heat of the pressure cooker. This is the safest method for high-risk grains like rye.
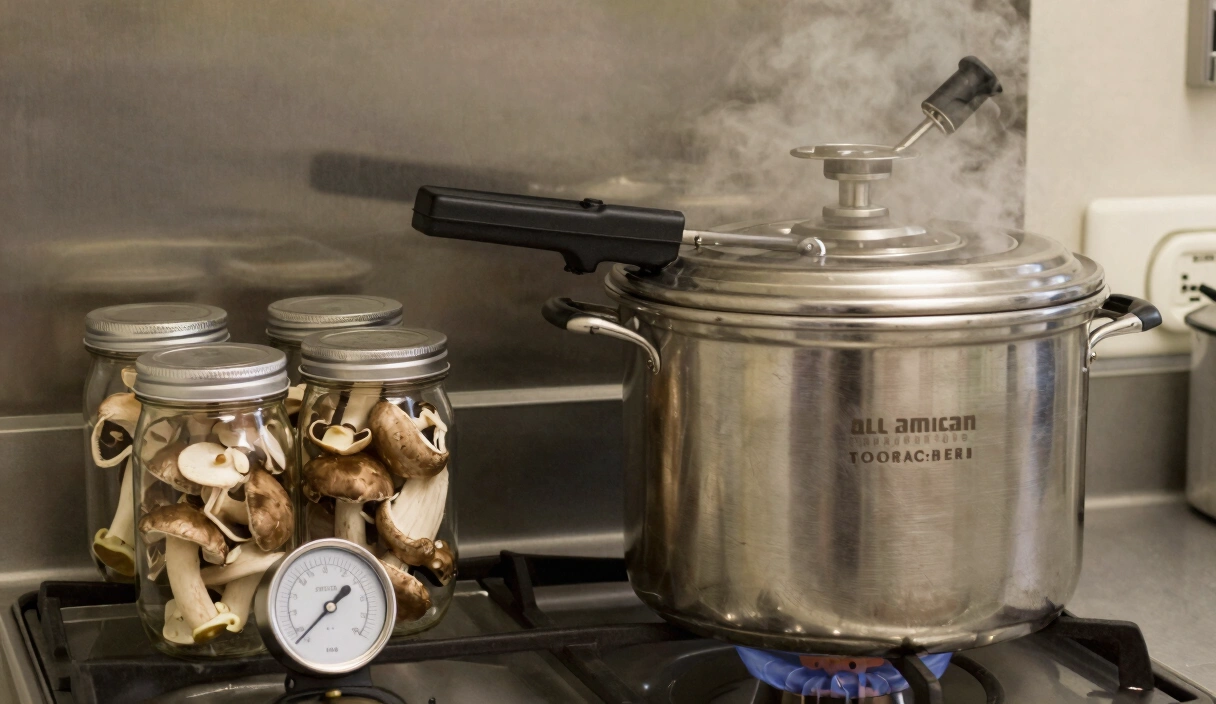
The “No-Soak” Simmer (Fast)
Commonly used for Oats and Millet. You simmer the grain in boiling water for 15-30 minutes, drain, and then pressure cook. While faster, this method relies heavily on hitting a true 15 PSI for 90 minutes to kill any spores that weren’t “woken up” by a long soak.
Pick one grain type from the comparison above, prepare a test batch of 6 jars using the paper towel dryness check, sterilize at 15 PSI for 90 minutes, and track colonization speed against your previous results—then scale to bulk substrate preparation once you have confirmed clean, fast leap-off.
Frequently Asked Questions
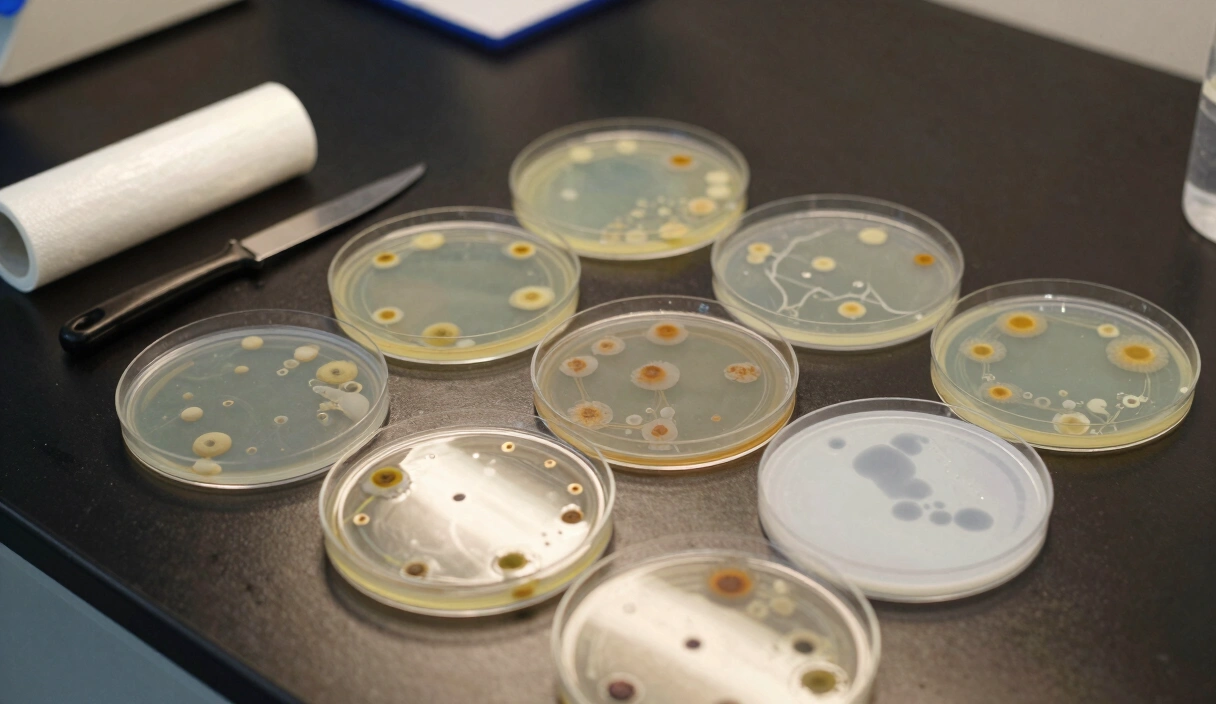
Why does my grain spawn smell sour or like vinegar when I open the jar?
That is a definitive sign of anaerobic bacterial infection, most likely Bacillus subtilis. Caused by excess surface moisture or failure to reach true 15 PSI during sterilization. The bacteria metabolize exposed starch and produce acetic and lactic acids as byproducts. If a jar smells anything other than fresh forest mushroom, discard it immediately—and do not open it inside your grow space, as the bacterial aerosols will contaminate future batches.
How much grain spawn do I need per monotub?
For a standard 66-quart monotub, use 3 to 5 quarts of grain spawn mixed with 10-12 quarts of bulk substrate, creating a spawn-to-bulk ratio of roughly 1:2 or 1:3. Higher ratios colonize faster and resist contamination better but increase cost. For beginners, err toward 1:2 until your sterile technique is consistent enough to trust a leaner ratio.
Is wild bird seed a good budget alternative to rye or millet?
WBS (Wild Bird Seed) works as a budget spawn grain because it contains a mix of millet, milo, and sunflower seeds. The catch: sunflower seeds and debris must be skimmed off during the soaking step because they are highly contamination-prone. It is essentially a high-labor, low-cost version of pure millet. If your time has any value, buying clean millet in bulk from an agricultural supplier is cheaper per clean jar.
How do I tell if my grain is properly hydrated versus over-cooked?
Crush a single kernel with a spoon. If the center is white and mealy—under-hydrated. If grey and translucent all the way through—perfect. If the kernel is falling apart or the hull is peeling away—over-cooked. Over-cooked grain exposes starch, clumps together in the jar, and becomes a bacterial incubator rather than a mycological one.
Should I use the 24-hour soak method or the no-soak simmer for grain preparation?
The 24-hour soak is safer for contamination-prone grains like rye because it germinates dormant Bacillus endospores into their vulnerable vegetative state before sterilization kills them. The no-soak simmer (15-30 minutes of boiling, then PC) is faster and works well for oats and millet, but relies entirely on hitting a true 15 PSI for 90 minutes to kill any spores that were not activated. If your pressure cooker’s gauge is uncalibrated, the soak method is your insurance policy.
Related Articles
Best Pressure Cookers for Mushroom Cultivation 2026: The Sterilization Authority
Presto 23-Quart or All American 921? The pressure cooker comparison every mushroom grower eventually faces. Specs, PSI data, and altitude corrections.
The Ultimate Mushroom Substrate Guide: Engineering High-Yield Growth Media
Not all substrates work for all species. C:N ratios, pH buffering, moisture content, and specific recipes matched to the mushrooms you're actually growing.
MEA vs. PDA: The Professional Laboratory Guide to Mushroom Agar Recipes
MEA, PDA, and antibiotic agar — five tested recipes with exact measurements for isolating clean mushroom cultures on plates.